Learn How To Draw The Number 5 Quickly
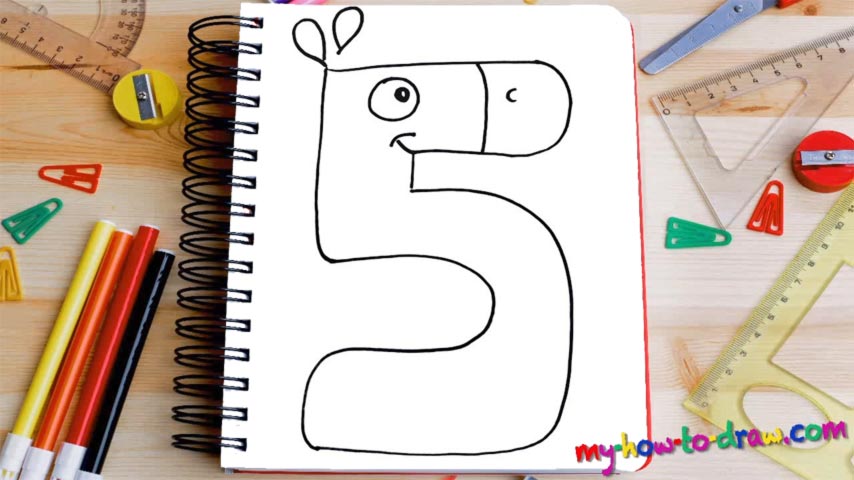
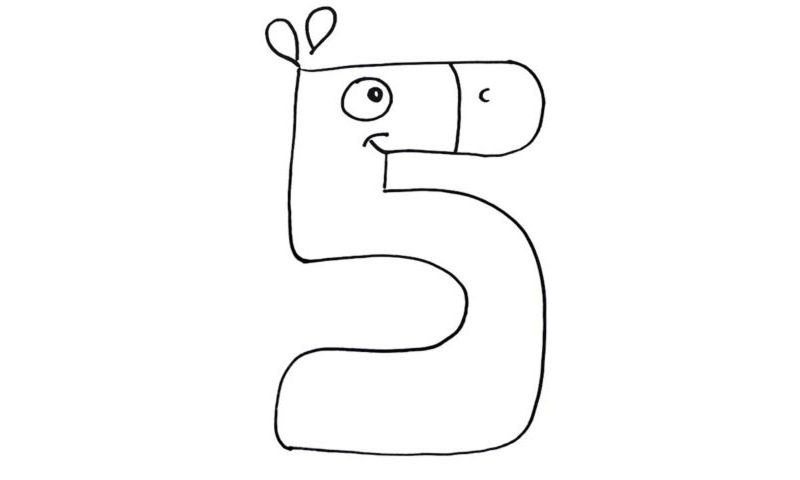
The final result looks like a horse or some other type of animal. It’s got eyes, a nose, and could definitely be a pony or even a horse. Start this how to draw The Number 5 tutorial in the upper left corner with a straight horizontal line (00 min 08 sec). By using a simple curve, move further down to complete the main body of the drawing.
You’ll need another curve, a much bigger one, to cover the bottom of our composition (00 min 21 sec). It should resemble a reversed letter “C.” If you’re happy with everything so far, follow my lead and finish the back – the left side – by turning it into, well, the number 5 (00 min 28 sec). This is actually it. But the facial features are still on the menu.
This part of the how to draw The Number 5 tutorial is equally easy and fun (00 min 40 sec). A vertical line and a tiny curve – that’s all you’ll need for the nose. The mouth is just as simple. The eye consists of two circles of different size (00 min 46 sec). Finally, add the ears slash balloons at the very top.
Before you learn how to draw The Number 5, did you know?
What do you know about this number? Is it your favorite one? Back in the day, it used to look like a “Y”; later, it resembled “3” a lot. According to the biologists, the majority of mammals, reptiles, and amphibians come with 5 fingers and toes on each limb. Now, while we are used to saying that there are 4 elements in the universe: Air, Water, Earth, and Fire, there’s another one – Space – which makes it five.
I bet you didn’t know that most flowers on planet Earth come with 5 petals. In Islam and Judaism, this number has an important role and can be found in many chapters. For example, the Muslims are obligated to pray to Allah, their heavenly father, 5 times a day. The Torah consists of 5 books. Finally, The Jackson 5 was one of the finest bands in history!

