Learn How To Draw The Number 3 Quickly
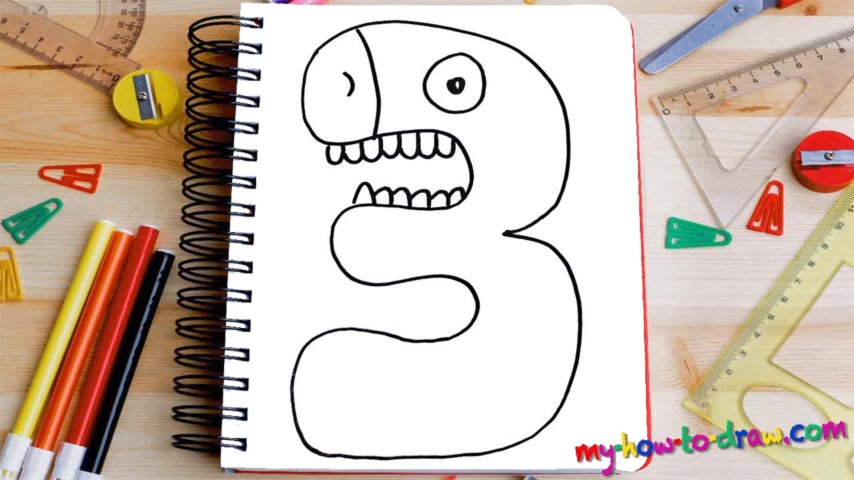
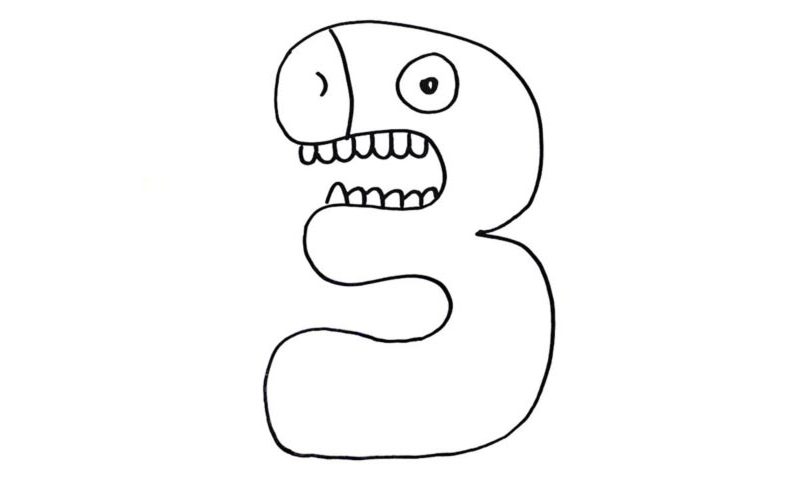
You might think that this is just another video guide from the “Digits” series, but as you can see, there’s more to it. In order to make this how to draw The Number 3 tutorial more interesting, we decided to turn it into a scary monster. Begin in the upper corner with a couple of similar-looking curves (00 min 08 sec). Be smart about this.
Don’t rush into it and complete the lesson in several steps. Once the left side is done, move to the right and add a similar shape (00 min 20 sec). We’re trying to make this drawing 3D, which means it should be “bumpy” enough to give that impression. If you’re happy with the number, let us move on to the “face” (00 min 33 sec).
This part of the how to draw The Number 3 tutorial is fun. Separate the nose from the rest with a vertical line. A tiny curve for the nostril will suffice. For the eye, you’ll need two simple circles. The teeth (13 in total) sit right below it (00 min 43 sec).
Before you learn how to draw The Number 3, did you know?
It’s a known fact that numbers have “secret powers” and can turn a person’s fate around. You might not believe that, but many people still do, even in the modern-day age of smartphones and cryptocurrency. Folks that lived many centuries before us created numbers to communicate better with each other, and their legacy lives on.
As for the number 3, it has been through numerous “revisions” and in the beginning, it didn’t look anything like what we’re used to today. For quick estimates, we use 3 instead of 3.14 (yes, I’m talking about Pi). Interesting fact: we use 1, 2, and 3 to describe the number of something, but then we usually switch to “many.” Funny how our brains work sometimes, right?