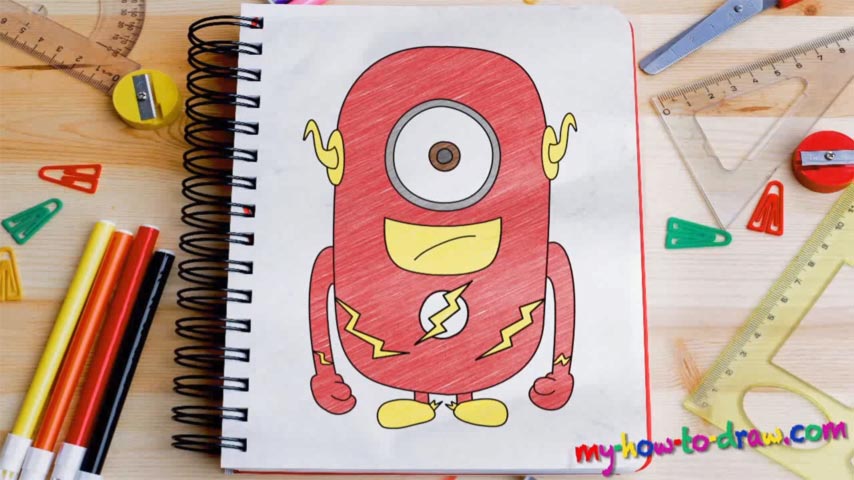
Learn How to draw The Minion Flash Quickly & Easily!
We start with creating a huge oval shape that takes up most of the space. That’s the cute little character’s body (00 min 24 sec). Next, draw two additional shapes on both sides for the hands and two circles at the bottom for the legs. The final step in the intro to our how to draw The Minion Flash tutorial are the dividing lines (1 straight vertical line and 2 curvy horizontal ones).
Everything looks good? Then let’s use dark strokes for the main picture! That big, shiny eye comes first (01 min 06 sec). It’s comprised of four simple circles – nothing fancy. The adorable ears are next in line (01 min 35 sec). Use S-like shapes to make them extra curvy. All good? Alright, now let the sketch we made earlier guide you and finish the upper part of the how to draw The Minion Flash tutorial (02 min 29 sec).
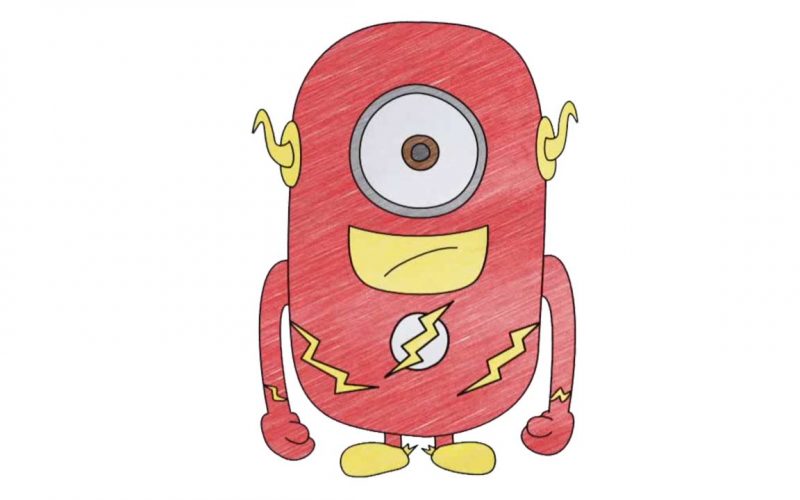
The mouth is the easiest part. After you complete the whole body, put that trademark symbol in the bottom (03 min 15 sec). Overall, there are three lightning bolts, and the one in the center sits on top of a circle. The hands and the legs are relatively easy and look identical, which means if you master, say, the left part of our hero, the right one will be a piece of cake.
Simply let the video guide you and bring this home. You can try placing the hands higher or making the legs taller. That might make the character look better in some ways, but the original has that unique Minion touch. Don’t forget to erase the guiding lines and use a combination of red, yellow, and white to color him.
Before you learn how to draw The Minion Flash, did you know?
You knew that this day would come: with these adorable little guys taking over the entire world, it was only a question of time before they turned into superheroes. He looks pretty funny and comes with the costume, the speed, and the dedication of Mr. Flash.