Learn How To Draw Sunglasses Quickly
The best thing about this laid-back tutorial is that once you master the right side, you’ll be able to copy everything you just did to the left. So, if you’re serious about learning how to draw Sunglasses, join us and let’s start with the glass on the right (00 min 06 sec). Once you’ve got the basic outline down, move to the left and put in another shape that looks the one we just did but is reversed to the other side (00 min 18 sec).
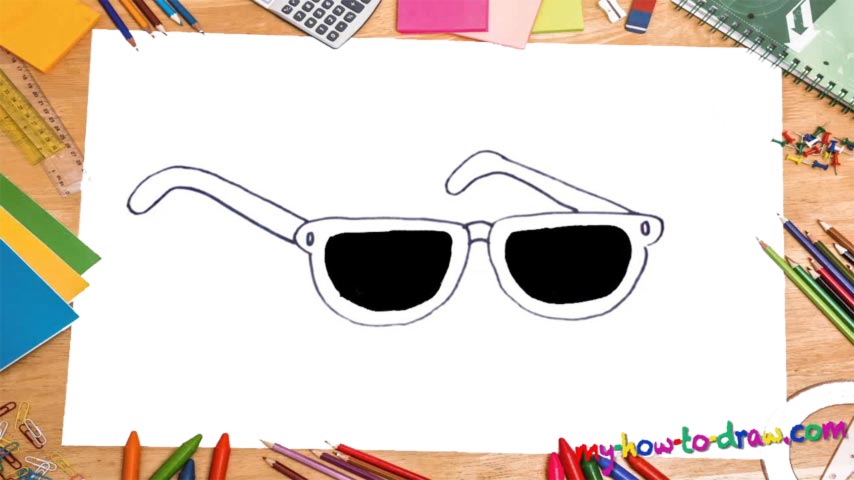
Use two simple and short horizontal lines to connect them to each other (00 min 27 sec). Ok, now it’s time to add more details to each side. You’ll need to complete the image by adding the inner lines – again, on both sides (00 min 36 sec). Just follow the video guide if you’re a fan of the good old saying “A picture is worth a thousand words”. At this point, we’re almost done with the how to draw Sunglasses tutorial.
All that’s left to do is work on the holders slash fasteners that sit on our ears (00 min 48 sec). Put two dots in the left and right corners of the drawing and create two identical shapes just like you see in my example. Ok, that’s it! Now just go ahead and color both glasses black to make this composition look even more realistic (01 min 15 sec).
Before you learn how to draw Sunglasses, did you know?
The bright minds of our kind came up with the idea of sunglasses with only one goal: to protect our fragile eyes from the sun rays. And they did a great job with that. However, the pioneers soon discovered that their invention also looked extremely cool and fancy.
And that is exactly why all the solid heroes from the 1980-2000 movies wear them (take the Men In Black or the Matrix franchises). The greatest thing about sunglasses is that you’ll be equally “hip” even if you wear a 10-dollar pair that you bought at the closest convenience store.