Learn How To Draw Rick from Rick and Morty Quickly & Easily
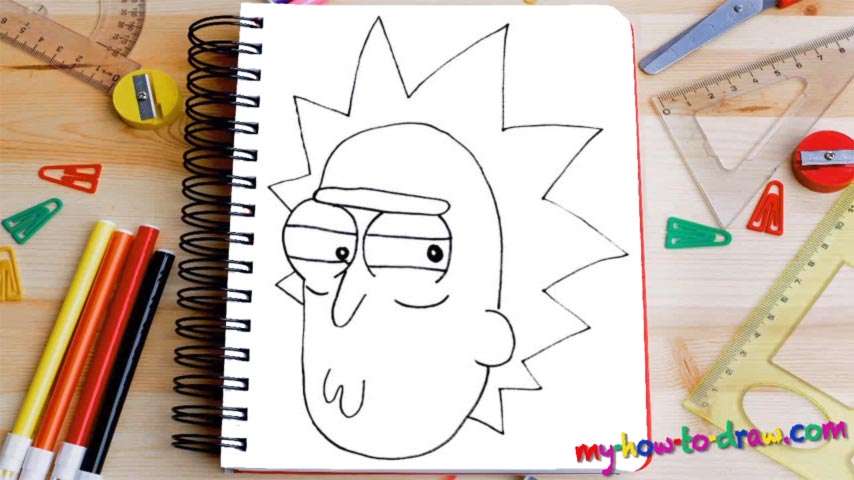
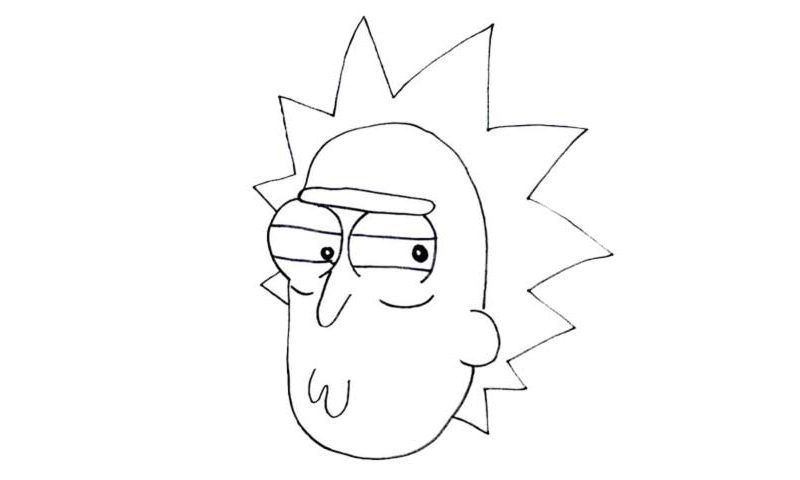
Let’s get right to it and shape our hero’s head (00 min 08 sec). Obviously, we’ll need a couple of stops to make it look good. The left ear resembles a “C”, doesn’t it (00 min 14 sec)? Keep shaping the head until you reach the right eye (00 min 23 sec). Once it’s in place, we’ll have a basic outline for this how to draw Rick from Rick and Morty tutorial.
The head looks like an oval and is longer than it would’ve been in the real world. But hey, this is a cartoon character, which means it’s all good. Put that classic long rectangular shape in for the eyebrows (00 min 29 sec). The eyes sit right below it. They are identical to each other and come with super-tiny pupils and two horizontal eyes surrounding it. Don’t forget about those curves below them.
The next step in this how to draw Rick from Rick and Morty tutorial is the nose (01 min 04 sec). It’s kinda funny and easy at the same time. That…cosmic hair is the final thing to take care of in this video (01 min 11 sec). You’ll need zigzag-like lines, or, rather, a number of stars connected to each other to create his fancy haircut.
Before you learn how to draw Rick from Rick and Morty, did you know?
This guy is the title character of the incredibly popular animated TV series that’s currently on. Rick is an alcoholic and is struggling with his addiction. At the same time, he’s a gifted scientist with a brilliant mind and is working on the biggest project of his life.
He’s got a reckless mind and always follows his heart without second-guessing his actions. A pessimist and a natural-born nihilist, he’s got that bad-boy charm that the ladies fall for. Rick travels other worlds and dimensions looking for an inspiration for his work.