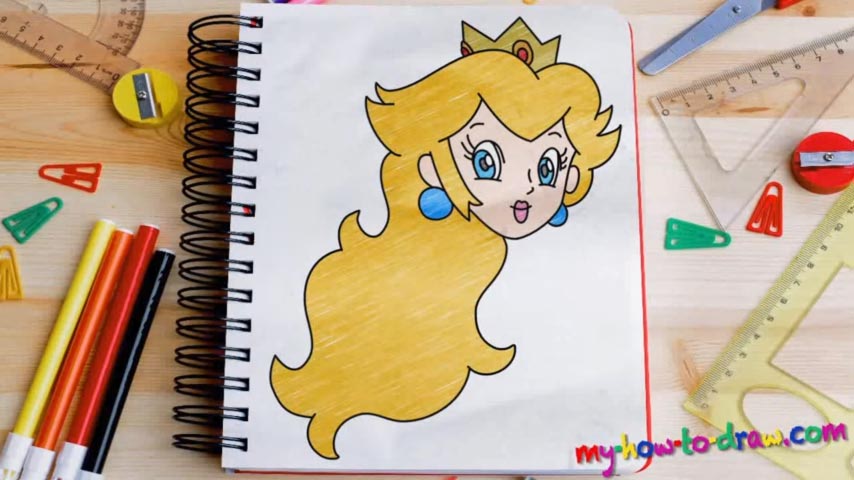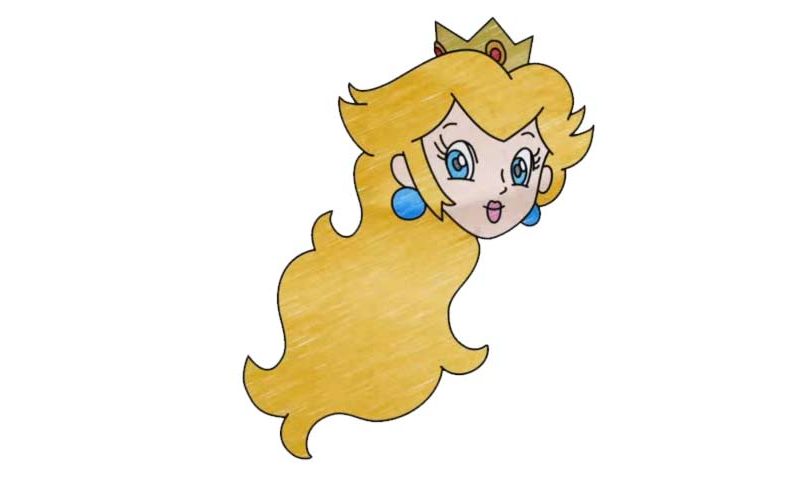
Learn How to draw Princess Peach Quickly & Easily!
In this particular case, we’ll make do without a sketch and try to get everything right using our own skills and strong imagination. Alright, let’s learn how to draw Princess Peach and begin with her left eye (00 min 29 sec). Once you’re done with it, add three big eyelashes to accentuate her beauty and move on to the right eye. It looks exactly the same but is a bit “squeezed” because of the angle.
Next, get to the nose and the mouth – the easiest features of this composition (01 min 22 sec). You’ll only need three simple curves to make them look realistic. If you’re satisfied with the head so far, let’s move on to the most important part of the how to draw Princess Peach tutorial – the hair. Create a V-like shape on top of her eyes and two curvy lines on both sides that make it look like an “M” (01 min 37 sec). The rest is easy: use those lines to shape the lower part of the head.
After you add the ears and the earrings, the only thing left to do will be her gorgeous hair (02 min 25 sec). There’s no point in describing this part – simply follow the video and put your skills to good use. You can actually stop when the top of it is done (02 min 47 sec). But we highly recommend sticking around and drawing the “flames” that go down on the left side. And don’t forget about the crown (03 min 17 sec)!
Before you learn how to draw Princess Peach, did you know?
Are you a fan of video-games? If the answer is yes, then you already know this beautiful young lady. If the answer is no, we bet you’ve still heard about Mario – the hero of an insanely-popular series of games. This girl – a princess – always get in trouble, and Mario is the one who saves her.
She’s charming and has royal blood rushing through her veins, but when it comes to a battle, this adorable little thing is defenseless. Now, even though the young woman’s castle is constantly under attack, the fearless plumber still risks his life for her, simply because she stole his heart.