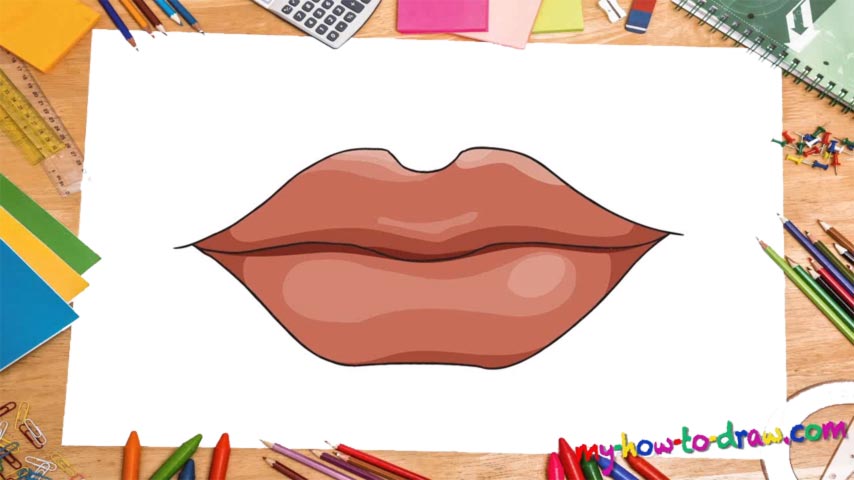
Learn How to Draw Lips Quickly & Easily!
Lips are one of the most important parts in any drawing (if you’re making a portrait or something like that). But they’re relatively easy to do – you’ll learn that after our how to draw lips tutorial. By using extremely light strokes, make some guidelines that will need to be erased completely once you’re done (00 min 17 sec).
Next, arm yourself with a proper pencil and draw the middle where the upper and the lower lips sit on each other (00 min 25 sec). A quick tip: the trick here is to make your strokes nice and smooth (almost S-like), but don’t overdo it (00 min 33 sec). You can always go back and fix whatever parts you didn’t like.
While keeping up with our how to draw lips guide, remember that the lower lip is usually fuller than the upper one. Make sure to put that into your drawing (00 min 49 sec). Use a series of curves to “lock” the lips while keeping the balance between the various parts.
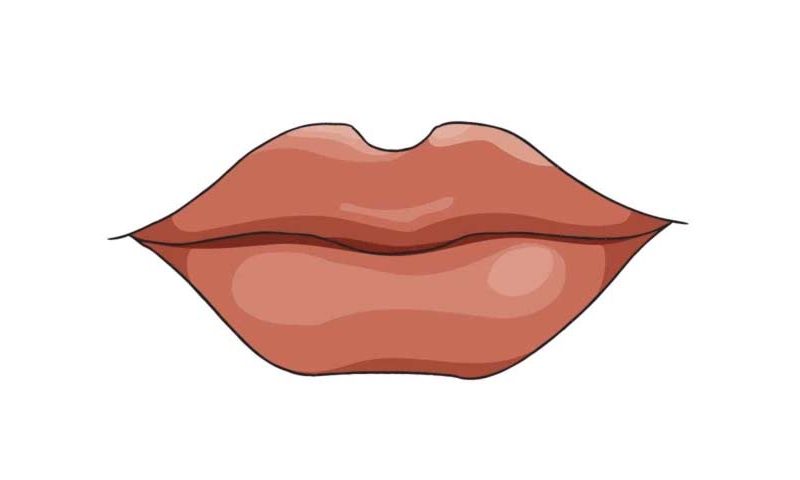
Once you’re done with the whole thing, use a marker to go over the drawing and erase your guides (01 min 22 sec). As far as coloring goes, you’re free to choose your mix. The colors in the video are pretty great – you can go with them if you like. The beautiful thing about drawing is that you don’t have to follow strict rules. Do whatever works for you!
Before you learn how to draw lips, did you know?
Everyone knows that in order to draw a nice face you need to master the eyes, nose, and lips. Of these three parts, I believe that the lips are the easiest to perfect. Start with the line where both lips meet and use simple but smooth curves to give a little expression.
And, unless you’re drawing an anime face, try not to exaggerate anything :). The top lips are almost always smaller and have the characteristic arc under the nose. Don’t worry – you’ll come to learn and to know all these details once you get interested enough.
Depending on the style of drawing you will be creating, you will need to color or shade the lips. My video shows you a more cartoon style; still, the areas which require shadows and highlights can be seen.