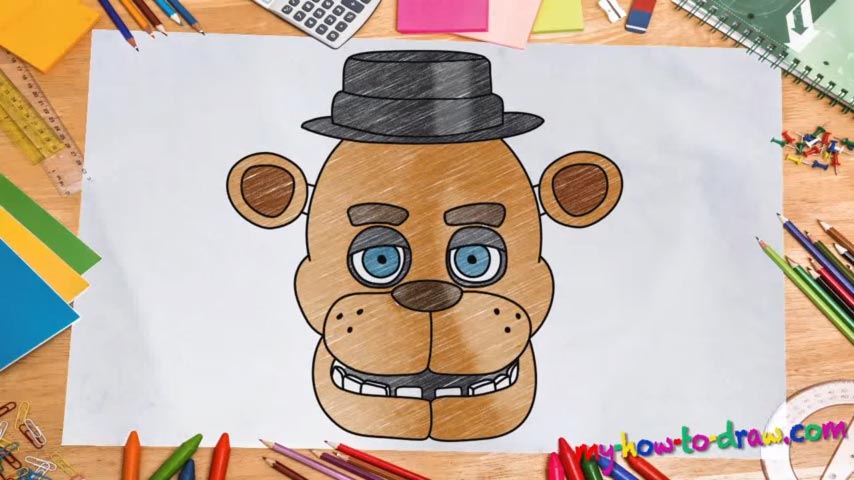
Learn How to draw Freddy Fazbear From FNAF Quickly & Easily!
If you’ve been keeping up with our tutorials, then you know that we usually love to start the FNAF characters from the nose and the lower part of the head (00 min 28 sec). Once that perfectly smooth oval shape in the middle is done, move further down and finish the chin. The teeth – the scariest part of this how to draw Freddy Fazbear From FNAF manual – come next (01 min 13 sec).
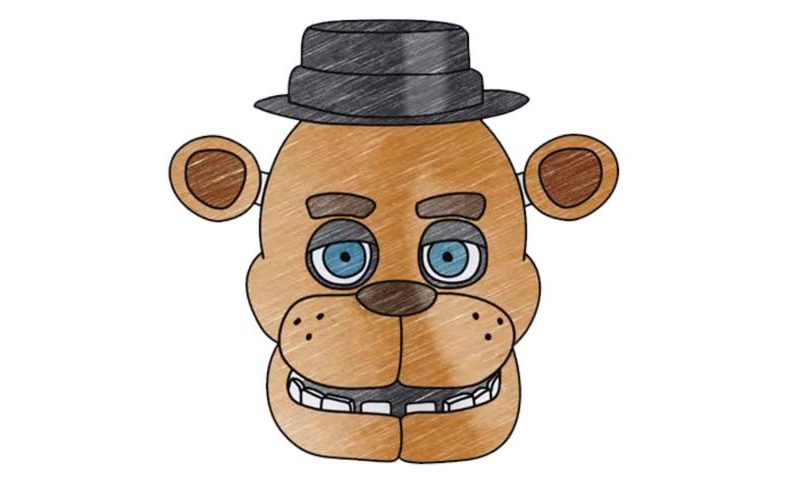
Now, even though this is the main antagonist of the video game, he doesn’t look as appalling as some of his “generals”. So, don’t try to make him look devilish. The eyes sit extremely close to the nose and are identical to each other (02 min 00 sec). The eyelashes, in turn, are big and thick. What you should do next is put that fancy hat on top of his head (02 min 52 sec). It consists of simple shapes and won’t be a problem.
Once that’s in place, take care of the next stage of our how to draw Freddy Fazbear From FNAF tutorial – the head (03 min 20 sec). Use the facial features and the hat we just made as your guidelines. You’ll need four sets of curvy lines to connect the top with the bottom. The last things we’re going to draw today are, of course, the ears (03 min 35 sec). They’re also quite simple and look more like the side mirrors of a vehicle :).
Before you learn how to draw Freddy Fazbear From FNAF, did you know?
This is the biggest villain in the world of FNAF – it doesn’t get bigger than Freddy. He likes to spend a lot of time on the stage and rarely if ever leaves it. However, when it becomes darker, the bear turns into the greatest threat in the vicinity.
So, make sure you never run out of power and keep your eyes on him! The bear looks “normal”, or, at least, a lot less scary than some of the other bad guys in the game. But don’t let the good looks fool you – he’ll come after you when you least expect it!