Learn How to draw Bonnie From FNAF Quickly & Easily!
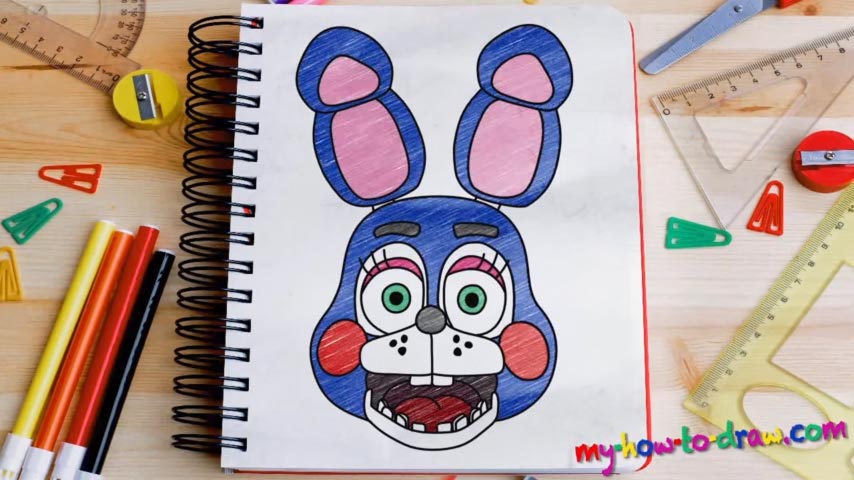
We recommend starting with the tiny nose and making our way further down to the jaws (00 min 28 sec). This guy has two big teeth in the upper jaw and several tiny ones in the lower jaw (we’ll get to that later) (01 min 01 sec). The next part of this how to draw Bonnie From FNAF tutorial – the cheeks – are just two circles on both sides of the nose (01 min 09 sec).
Make sure to paint them red/pink to create a more authentic (and creepy) picture. Then move on to the eyes – the most important facial features in this particular video-course. They are very big and you’ll need to get everything right in order to create a truly amazing drawing. The good news – they’re identical and once you master, say, the left eye, the right one will be much easier.
Happy with what you’ve got so far? Then let’s proceed with this how to draw Bonnie From FNAF tutorial and move on to the eyebrows (02 min 29 sec). They’re both a piece of cake; so, focus on the lower jaw. As mentioned in the beginning, it’s got quite a collection of teeth. The jaw itself should be as round and smooth as possible (02 min 40 sec).
Ok, so, we’ve got all the necessary elements in place: it’s time to outline the head (03 min 55 sec). Watch the video closely and “lock” Bonnie’s head. The final thing to take care of is, of course, the huge ears (04 min 12 sec). They are almost as big as the head; thankfully, they’re very easy to draw.
Before you learn how to draw Bonnie From FNAF, did you know?
If you ever meet this robotic rabbit eye-to-eye, just turn around and run. This animatronic is pure evil and won’t hesitate to lock you up inside a suit that will, ultimately, kill you. The guy plays the guitar and is a member of Freddy’s own band. Stay as far away as possible!