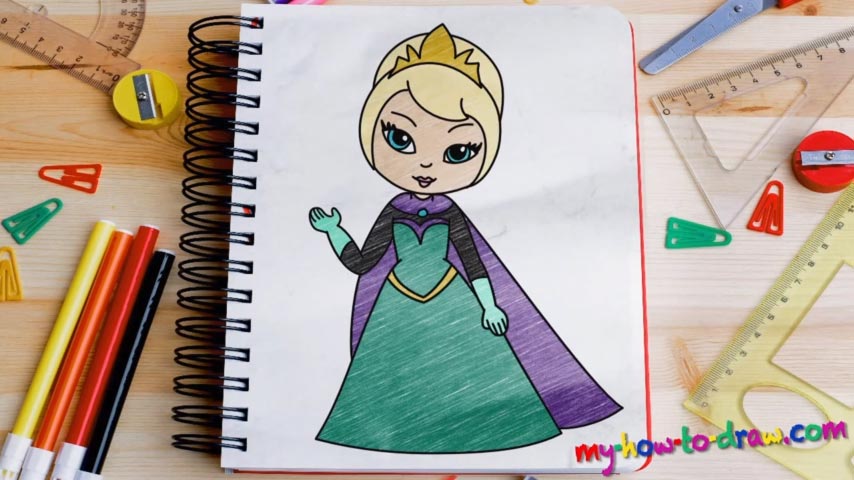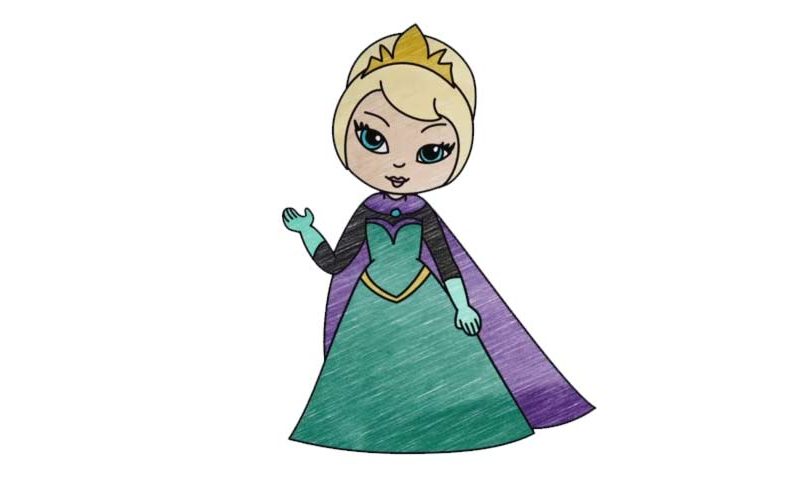
Learn How to draw Elsa From Frozen Quickly & Easily!
Remember: no matter how easy or hard a certain video-guide is, you should always create a simple rough sketch. In this case, we start with a circle in the upper corner for the head (00 min 23 sec). That’s the first step in our how to draw Elsa From Frozen tutorial. Add another one just above it that overlaps with the first circle. Once that’s done, move on to the bottom to put some guidelines in for the body (00 min 43 sec).
It’s actually quite primitive and consists of several straight and curvy lines. Those oval shapes on both sides represent the queen’s hands (00 min 55 sec). If you’re happy with the sizes and the placement (that’s the only thing that should bother you), switch to darker strokes and let’s get to the clean drawing. That tiny curve is the nose (01 min 17 sec). The eyes follow right after it.
As I like to say sometimes, they look like little fish. The eyes are identical. The mouth is the easiest part of this how to draw Elsa From Frozen tutorial (02 min 11 sec). What you should do next is use some of the guidelines to shape the queen’s head. (02 min 24 sec). That mighty crown on top of her head will give this drawing a majestic look. Again, let the light strokes guide you and get right to the body.
Obviously, it’s a lot easier than the head as it comes with fewer details (03 min 31 sec). The left hand is very straightforward and won’t cause you any problems. Same goes for the right one (04 min 09 sec). To complete the beautiful dress, carefully go over the guiding lines (04 min 54 sec). That cape is the last thing we’ll work on (05 min 21 sec). See how easy that was?
Before you learn how to draw Elsa From Frozen, did you know?
As the ruler of the Kingdom, she’s got certain responsibilities and a heavy burden on her shoulders. But, due to some unfortunate events, she turns into the show queen, capable of controlling snow and ice. She’s not a villain – just a tragic character with her own moral compass and her own ups and downs.