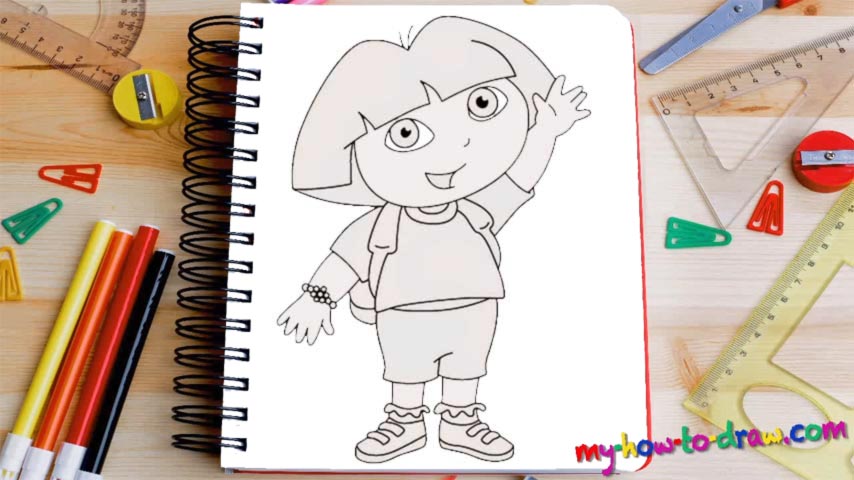
Learn How To Draw Dora The Explorer Quickly & Easily
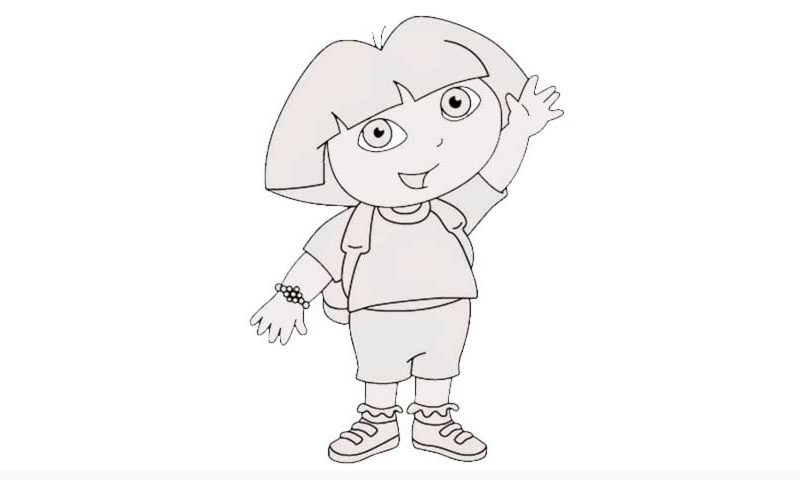
See that C-like curve that sits on its back (00 min 05 sec)? It’s there for our character’s face. Add the funny haircut right on top of it and two identical shapes for the backpack below it (00 min 08 sec). The next step in this how to draw Dora The Explorer is the eyes (00 min 12 sec). The neck of the t-shirt, the fingers of the right hand, and the top of the body follow (00 min 16 sec).
Once all those elements are in, go back to the head and complete the hair. After you add the V-like curve, the hair will start to look like a fancy “M” (00 min 20 sec). Finish the right hand in three steps. The fingers come first; the hand follows; the sleeve of the t-shirt is the final stage. The mouth and the shorts are the next things to take care in this how to draw Dora The Explorer (00 min 25 sec).
The right hand is simple. But she’s got a sparkly piece of jewelry on it (00 min 32 sec). The next thing to take care of is the feet and the shoes (or, rather, the sneakers) (00 min 38 sec). Obviously, they are identical to each other. The last thing to do is to add the pupils (00 min 47 sec). Now you can say that you mastered this tutorial.
Before you learn how to draw Dora The Explorer, did you know?
This popular series is focused on Dora, a little girl living in the US and hopping on exciting adventures. She’s 7-years-old and loves to embark on quests with Boots, a monkey. He’s her best friend, and together, these two turn the animated series into a modern-day classic.
In every single episode, the friends travel around the world and spend most of the time planning and solving some last-minute things. This is something of an interactive series as Dora is constantly interacting with the audience, which makes it that much more exciting.

