Learn How To Draw Donald Duck Quickly & Easily
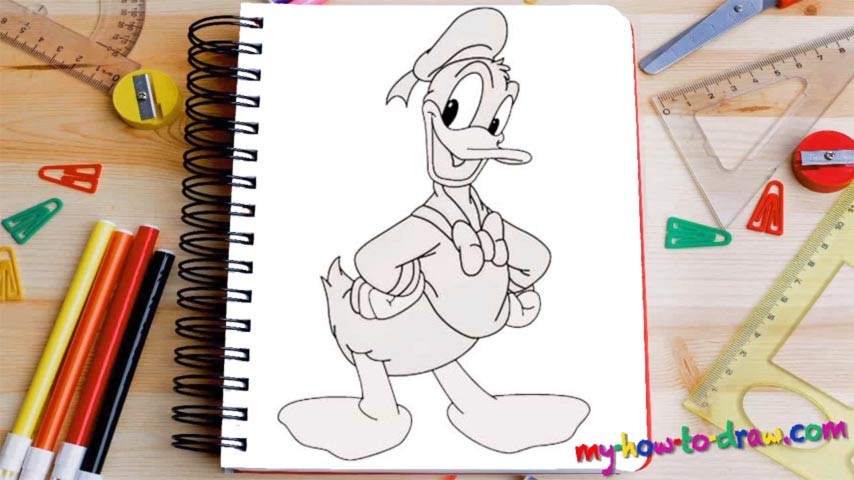
The mouth and the beak are connected, and that is why we’ll create them in one go (00 min 04 sec). You’ll need a shape that looks like a bucket and then two curvy shapes for the tip of the beak (00 min 16 sec). The tongue is the next step in this how to draw Donald Duck tutorial (00 min 20 sec). The eyes, as is always the case with cartoon characters, sit right on top of the beak (00 min 23 sec).
The pupils are in the bottom left corner. After you add that fluffy hair on his head and the eyebrows, the hardest part will be done (00 min 36 sec). The fancy hat that makes Donald look like a bad-ass comes next (00 min 47 sec). Ok, now we get to the body (01 min 00 sec). The bow is the first thing to handle before moving further with this lesson.
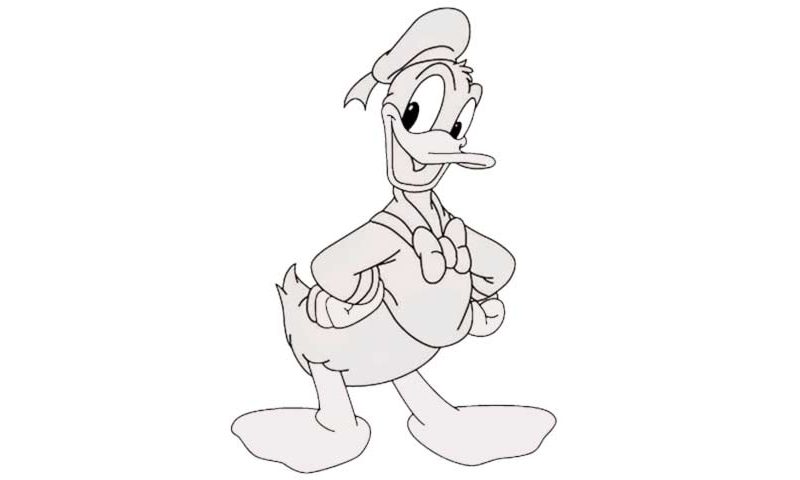
If you’re happy with the result, jump to the next step in this how to draw Donald Duck tutorial – the mighty hands (01 min 15 sec).Take a good look at the final drawing to understand the hero’s pose in your head. Got it? Alright, let’s proceed. It’s super-important to get the hands right (01 min 32 sec). Same goes for the legs. They are quite huge-yet-simple (01 min 44 sec). The tail should be fluffy, of course.
Before you learn how to draw Donald Duck, did you know?
Introduced in 1934, Donald is one of the original cartoon characters from the Golden Age that took the world by storm. He’s a duck but has humanoid features. That classic sailor shirt, the cap, and his yellow feet and beak created a truly iconic image of a bellowed hero.
He’s got a short temper and doesn’t like to mess around, just like his best friend Mickey. Back in 2002, many decades after his debut, Donald made it into a prestigious list of the 50 best cartoon characters in the world. Yes, he’s really popular!

