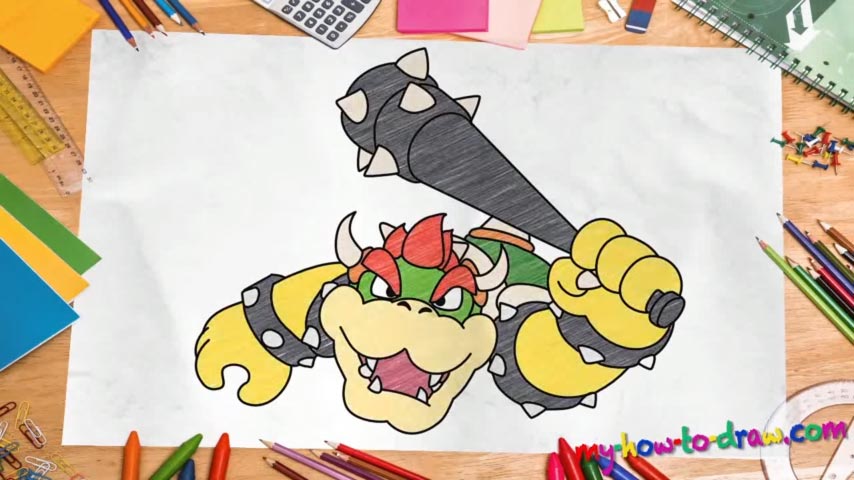
Learn How to draw Bowser From Super Mario Quickly & Easily!
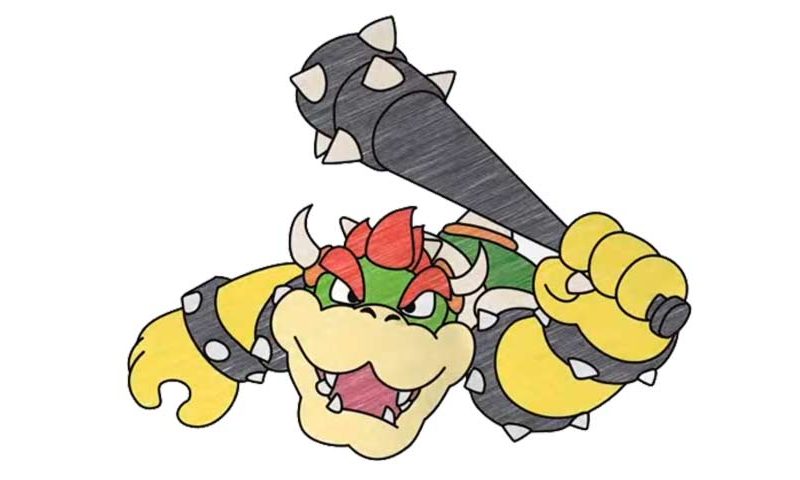
We’ll start with the beast’s head, or, rather, the upper half of the jaw (00 min 27 sec). It might look like a cloud from a cartoon, but it’s not :). Once you add those teeth, you’ll see that for yourself. This is the first part of our how to draw Bowser From Super Mario tutorial. Next, add the nostrils and move on to the eyes (01 min 30 sec).
Please keep in mind that the eyebrows in this composition are actually bigger than the eyes, and that adds to the overall atmosphere. Everything is identical, which means you won’t have any trouble with getting the tiny differences right (because they’re simply not there). The scary horns are pretty easy, and, again, consist of identical shapes (02 min 08 sec).
If you’re happy with what you’ve got so far, let’s get to the next stage in our how to draw Bowser From Super Mario tutorial – the left hand (02 min 52 sec). It’s pretty short but is almost as big as the head. We didn’t use any guidelines in this drawing; so, use the video as your guide. The right hand is a bit trickier (03 min 47 sec). I recommend starting it with the palm holding that mace.
That way, you’ll be able to get the proportions right. The mace itself is the easier part (05 min 26 sec). Add those scary spikes and you’ll be pretty much done. If something looks off, go back and try to perfect it. That’s the whole point of these tutorials: to improve your skills and become a better artist!
Before you learn how to draw Bowser From Super Mario, did you know?
This is the valiant plumber’s biggest rival. They’ve been at each other’s throats for a very long time and always try to prove to the whole world that they are the best. Mario is smaller and weaker than this beast, but he uses his mind and skills to beat Bowser every single time they meet.