Learn How To Draw An Otter Quickly
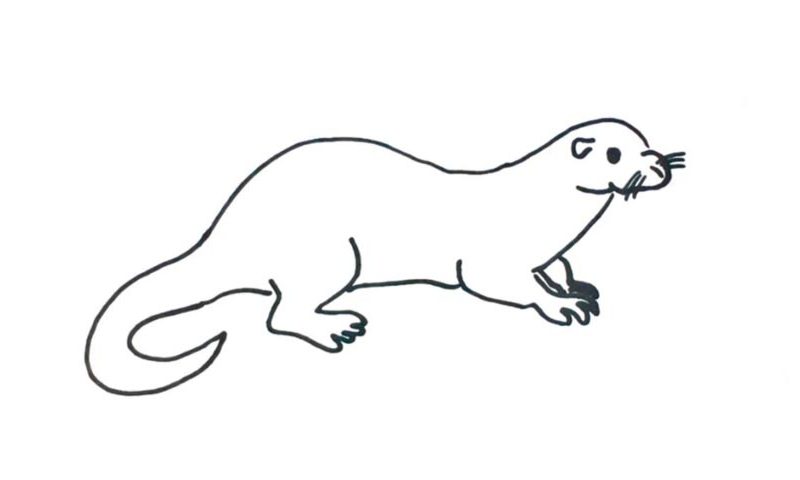
The head, or, rather, its upper half, comes first (00 min 08 sec). The face follows. I recommend adding the whiskers before moving on with this how to draw an Otter tutorial (00 min 20 sec). The one and only eye and ear sit close to each other somewhere in the middle of the head (00 min 27 sec). The shapes are very simple and straightforward.
If you’re happy with everything, let’s get to the body – the main part of this video guide (00 min 34 sec). Use a curvy line to cover the animal’s neck. The front leg comes next. It’s not a super-detailed shape, but you’ll still need to get everything right, including the fingers. Once it’s in place, go back to the top of the head and work on the back and the tail (00 min 47 sec).
You’ll need one super-long line to complete this stage of the how to draw an Otter tutorial. See that curve that makes the tail look like a hook (00 min 56 sec)? It will help you separate it from the rest of the body. All that’s left to do now is draw the rear leg that looks almost exactly the same as the one in the front and that’s it! Wait, don’t forget about the front left leg that’s hiding “in the shadows” (01 min 14 sec).
Before you learn how to draw An Otter, did you know?
Have you ever seen one of these creatures in person? Probably not. But you still do know that they are a part of nature on planet Earth, right? Currently, there are 13 species of otters out there in the wild, and these mammals prefer to keep to themselves and live in quiet.
By the way, the gestation period is short and the pups usually come to life in 60-86 days (that’s 2 to three months). These beasts build their holts under the roots of huge trees and/or big rocks to protect the little ones from wind, cold, and, of course, numerous predators that prey on the newborns.
