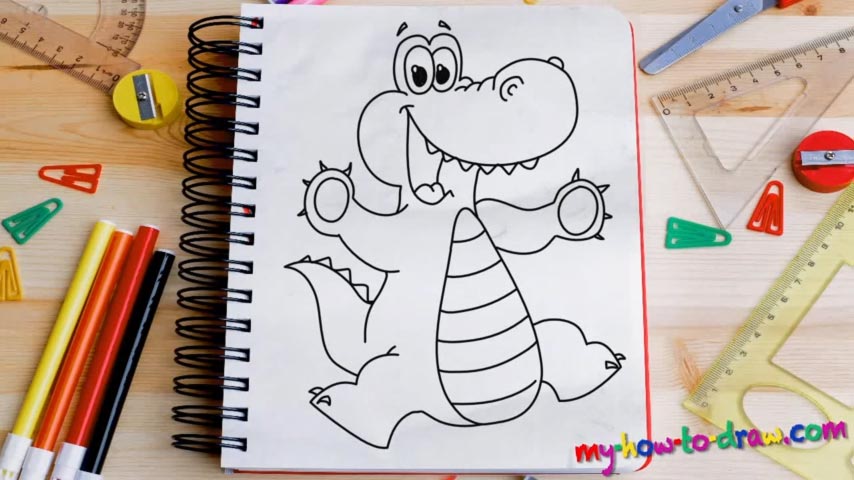
Learn How to draw An Alligator Quickly & Easily!
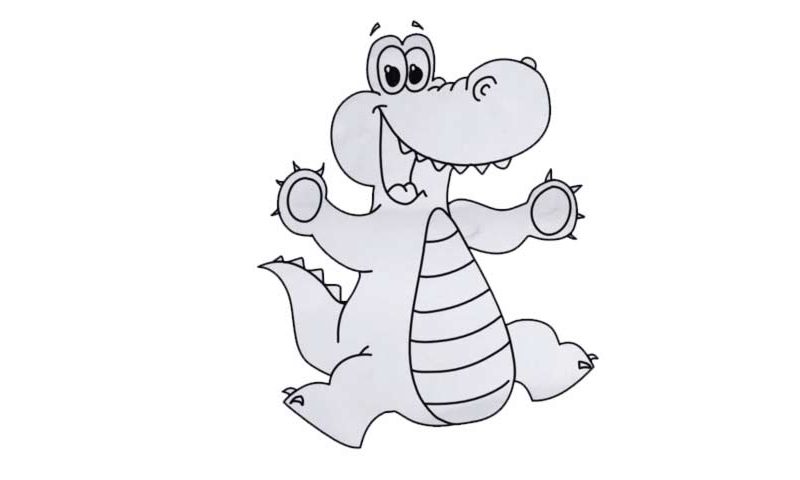
The eyes are super big, look like a couple of eggs, and sit pretty close to each other (00 min 27 sec). They actually even overlap a bit. At the same time, they are identical. If you like the intro to this how to draw an Alligator tutorial, let’s proceed with the face (00 min 55 sec). Draw a curvy line that covers the eyes; next, use a big, long, potato-like line for the “mug”.
And after you add the cute eyebrows, don’t forget to draw the nostrils at the end of the nose/frontal part of the face (01 min 28 sec). Our character has teeth only on the top jaw – six in total. They are nice and tiny, nothing like the big, scary fangs you’ll see in real life. The following part of our how to draw an Alligator manual, the tongue, is what you should take care of next (01 min 44 sec). The belly is very simple.
You might think that the hands are a piece of work, but they’re actually not (02 min 02 sec). First of all, they look almost exactly the same. Second, you’ll only need a shape that looks like a dumbbell, a circle in the far corner and a couple of “spikes” on top of it. That’s true for both hands. The legs are even more primitive and won’t require any extra skills (02 min 57 sec).
Before you learn how to draw An Alligator, did you know?
Even though you might not get that from our colorful drawing of a smiling alligator, these creatures are very dangerous and are capable of cutting you in half in no time. They’ve been around for centuries and are believed to be the descendants of the dinosaurs.
The scientists claim that this species is 65 million years old. Today, we’ve got two surviving breeds: the American and the Chinese alligators. Fast, strong, and equally dangerous both in water and on land, these lizards aren’t to be messed with!