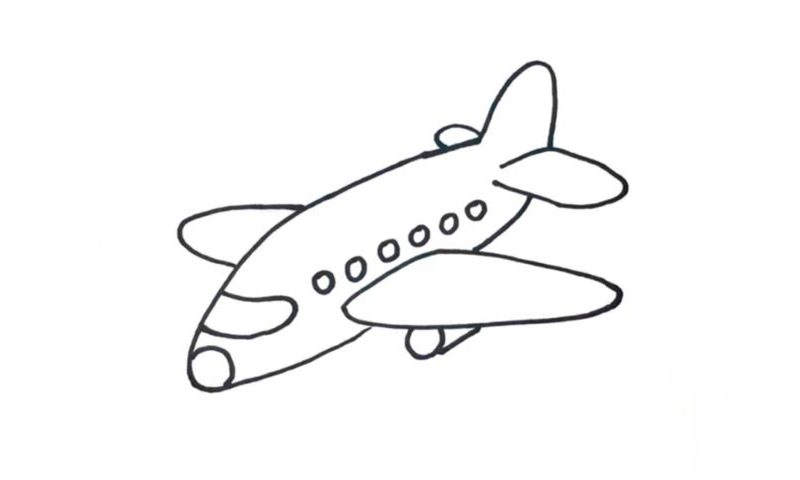
Learn How To Draw An Airplane Quickly
This is a simplified drawing that looks great on paper – exactly what you’ve been looking for, right? We’ll start with the front half of the vessel and gradually move to the back (00 min 05 sec). Remember: you’ll need smooth lines most of the time. In order to master the how to draw an Airplane guide, you’ll have to make sure you’ve got the proper curves for this one.
The tail is next on the menu (00 min 14 sec). It consists of three similar shapes. However, because of the angle, the left half is almost out of sight. The huge wing on the right side is a piece of cake (00 min 33 sec). It looks a bit like a surfing board. You’ll need to get its size right if you want a realistic picture. The turbine sits pretty close to the foundation (00 min 42 sec).
The left wing is the next step in this how to draw an Airplane tutorial (00 min 47 sec). The trademark “circle” on the nose follows (00 min 54 sec). All that’s left to do now is add the windows all over the plane. You’ve got a huge one for the pilots and a series of smaller ones for the passengers (six in total).
Before you learn how to draw An Airplane, did you know?
Without a doubt, these huge flying machines are a miracle. Most of us still have no idea how they work, but that doesn’t stop us from buying tickets and reaching far-away destinations. The modern-day airplanes offer safety, reliability, durability, and, of course, high levels of comfort to the passengers, especially if you pick a luxury class ticket.
As you might already know, it was the inventive Wright brothers who came up with this crazy idea. The first plane took off 115 years ago – in 1903, to be exact. However, it was heavily based on the genius-level works by Mr. Cayley who created something similar in 1799. WW2 that gave the airplanes the necessary boost because of their effectiveness in open battles.

