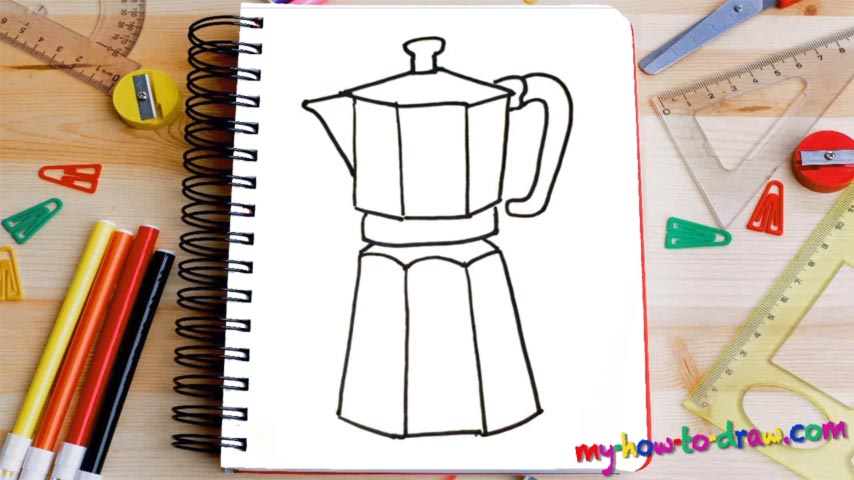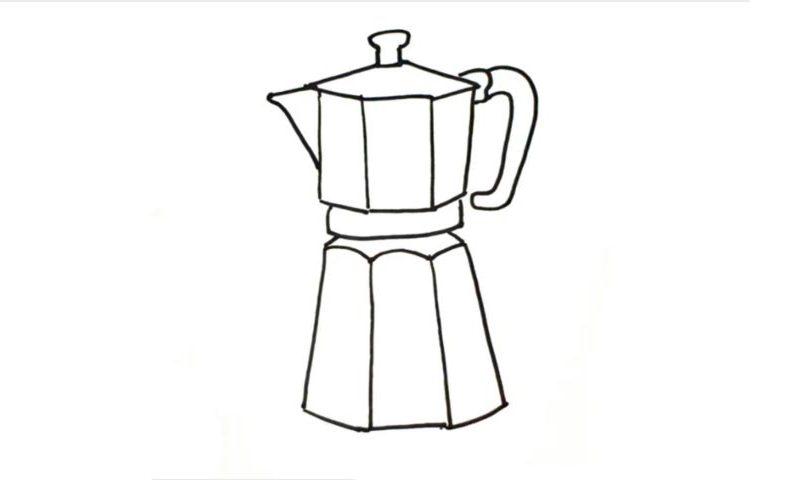
Learn How To Draw A Coffee Maker Quickly
This is a very simple drawing, one that you’ll finish in no time. It consists of several basic shapes that sit on top of each other and form a machine that looks like a kettle. Start this how to draw a Coffee Maker tutorial in the upper half (00 min 10 sec). The composition is in 3D; keep that in mind while working on this video guide. You’ll need three similar rectangles next to each other.
Once it’s all in place, go ahead and add the lid (00 min 34 sec). The “mouth” and the handle come next (00 min 56 sec). You’ll need two identical curves for the handle in the right corner. If you’re happy with how everything looks, create the supporting detail that’s located between the upper and the lower halves of the machine (01 min 20 sec).
The bottom of the appliance is the final part of this how to draw a Coffee Maker tutorial. Basically, it’s the same as the upper half, but it’s significantly taller. Again, divide it into three rectangles that look almost the same and you’ll be done! The final result looks great, huh?
Before you learn how to draw A Coffee Maker, did you know?
Well, the title kinda gives everything out. These machines are used by the humans to brew coffee. And since it’s one of the most popular and affordable drinks on the planet, it looks like the coffee makers are going to stick around for at least another century or two. Now, even though the principles of brewing are different, the technique is always the same.
The grounds are being “handled” by the machine’s filter and then added into a cup full of heated water. Back in the day, we used to have manual coffee makers than required a lot of strength and time to brew one cup of the drink. These days, we’ve got these clever appliances in pretty much every office out there.