Learn How To Draw An Acorn Quickly
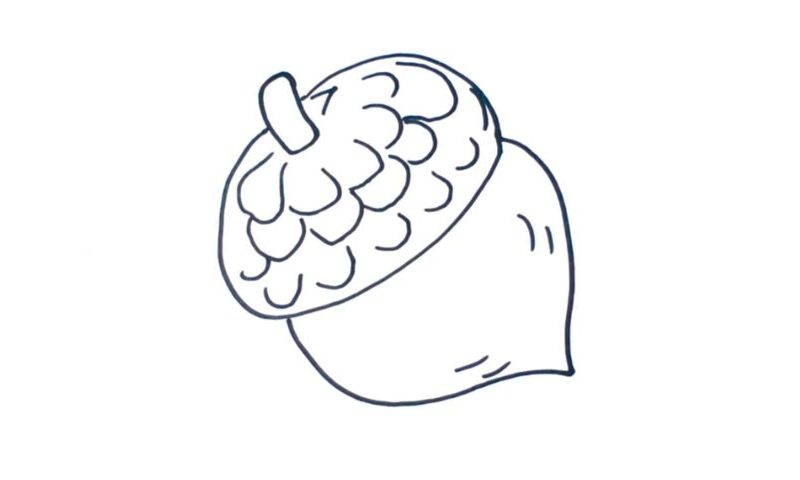
The upper half should be taken care of first if you want to make this lesson as easy as possible (00 min 09 sec). Create a shape that looks like an oval and then add the “tail” (00 min 18 sec). If you’re happy with the results so far, move on to the bottom of the drawing and let’s see what we can do about the main part of this how to draw an Acorn tutorial.
The lower half of the nut is very curvy and forms a shape that looks like a heart from the cartoons and video games (00 min 25 sec). Basically, we’re done with this guide. All that’s left for us to do is add some details here and there for even more realism. The first “level” is easy: just create a couple of short and simple lines in the bottom and lower right corners (00 min 32 sec).
As for the final stage of this how to draw an Acorn tutorial, we’ll need more than a few lines (00 min 38 sec). To make the “nutty” part look good, follow my guide closely and add a number of curves that resemble the letter “C”, only reversed. It’s actually a very easy and straightforward process.
Before you learn how to draw An Acorn, did you know?
Yes, this is the very nut that Scrat, one of the finest heroes of our time, has been chasing ever since we first met him in the Ice Age. These nuts need 6-24 months to mature, and they’re usually pretty tiny (1-6 cm long and 1-4 cm broad).
Ok, now let’s see which animals/birds use them in their everyday diet. Pigeons, ducks, squirrels, mice, and many other rodents can’t imagine their lives without acorns. That’s not the whole list! Pigs, deer, and ever the mighty bears also love these nuts. At the same time, the acorns are quite toxic, and cattle won’t be able to handle them if they consume too much.
