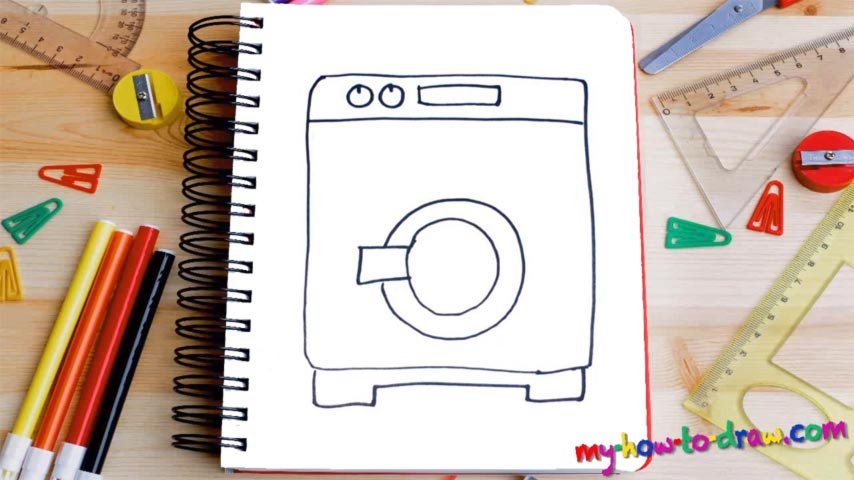
Learn How To Draw A Washing Machine Quickly
Essentially, this drawing is just one big rectangle with a couple of additional curves and shapes on top of it. With that said, the how to draw a Washing Machine tutorial is no joke and you should treat it like the real thing. So, get in the right mood and let’s start from the top (00 min 08 sec). That rectangle slash square should sit in the very middle of the paper.
You don’t have to complete it in one go: stop whenever you feel like the pencil is about to “run off” and continue from that point. Once it’s in place, add the “legs” (00 min 23 sec). They are pretty short and are connected to each other with a long line. The “door” in the middle that looks like the entrance to a space station is the next step in this how to draw a Washing Machine tutorial (00 min 31 sec).
Put that circle in first and only then get to the handle on the left. Then, draw another circle – a bigger one – right on top of it all. Finally, create a horizontal line in the upper corner to separate it from the rest of the drawing. The last things on the menu are the button and the knobs that allow you to control this wonderful machine (00 min 52 sec).
Before you learn how to draw A Washing Machine, did you know?
Do you know when the very first working prototype was made? Back in 1797! Then, +/- 50 years later, the market became flooded with the steam-powered washing machines. They became extremely popular in the United States and the UK, especially among the ladies.
In America, the emphasis was made on the households, while the folks in Britain made bigger profits on selling “commercial” washers. By the 1930s, when electricity found its way into most of the neighborhoods, the first electric machines came around and monopolized the market. Today, pretty much every single family has a washing machine at home!