Learn How To Draw A Bed Quickly
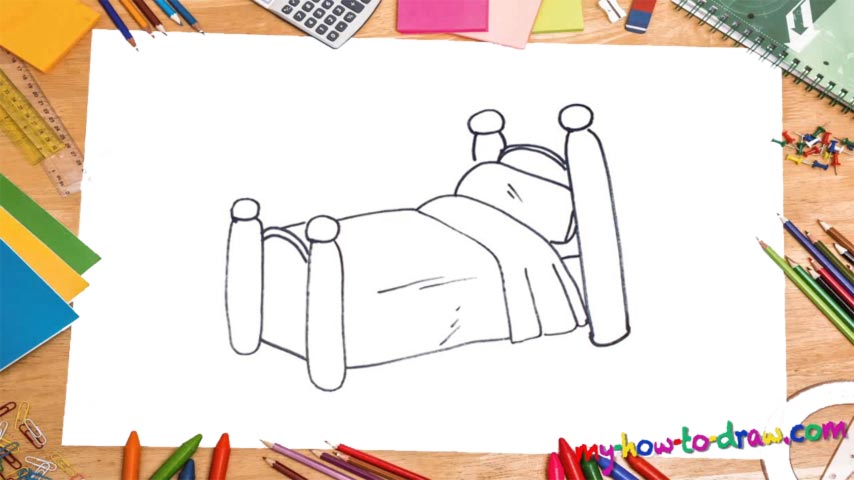
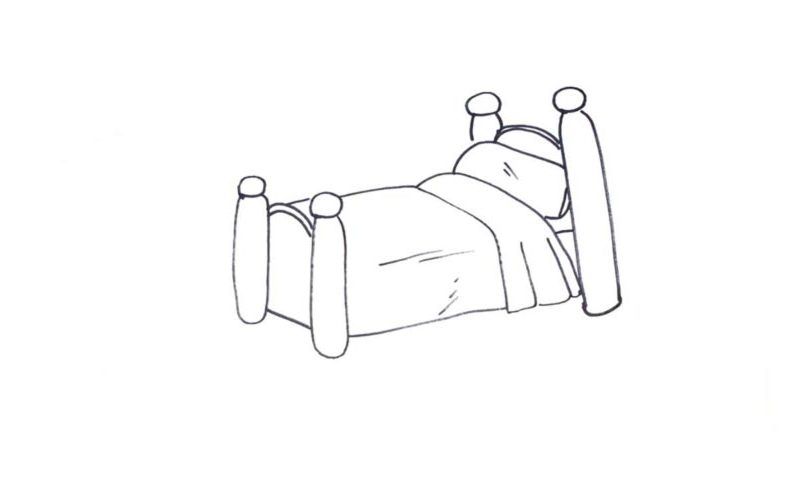
Compared to some of the modern-day beds, the one in our video tutorial looks a bit outdated, so to speak. On the other hand, it’s a classic image and you’ll still find it in many households. Ok, without further ado, let’s go ahead and learn how to draw a Bed, shall we? I suggest we start in the back (or, rather, the left side) and work on the wooden parts (00 min 08 sec).
You’ve got two of those, and the “columns” look alike. Don’t forget about those nice and round parts on top of each. After you connect them to each other, jump to the right and get to the much bigger and taller columns (00 min 35 sec). We’re not really sure why, but the ones behind the head are always more solid than the ones in front of the legs.
But the concept is the same, so, you won’t have any problems there. Alright, now it’s time to move on to the last step in this how to draw a Bed tutorial – the bedding (01 min 03 sec). The cushy pillow comes first. The blanket follows (01 min 12 sec). It almost touches the floor. Add two tiny lines on the blanket and on the pillow to make the drawing look more realistic (01 min 33 sec). That’s it!
Before you learn how to draw A Bed, did you know?
Our ancestors didn’t have much comfort in their day-to-day lives and were forced to make do with whatever was available. But over the course of time, mankind learned how to use the gifts of nature to turn life into a much more enjoyable, safe and comfy thing for all of us.
Without a doubt, the modern-day beds are much cooler, cozy and practical than the very first prototypes. You might not give this much thought, but we spend at least 1/3rd of our time in a bed. So, make sure you pick a solid one for you and your significant one. Trust me, you don’t want to have back problems because of a cheap bed!