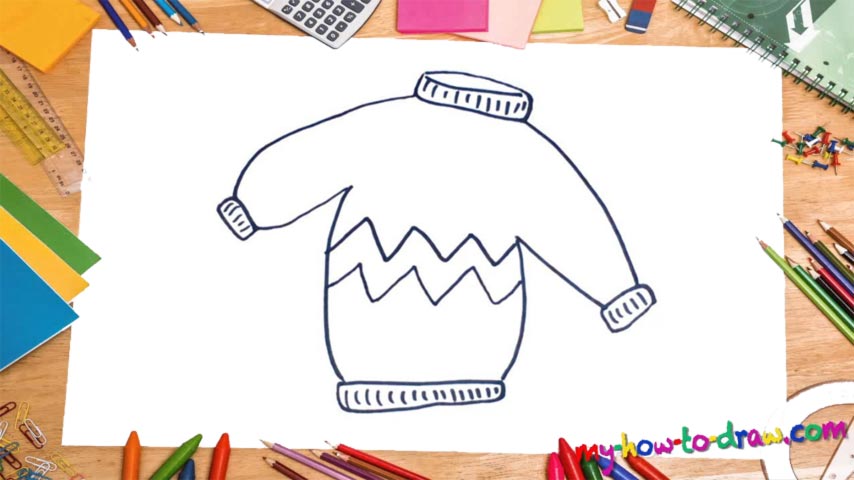
Learn How To Draw A Sweater Or A Jersey Quickly
Let’s start with the very top of the drawing – the neck (00 min 06 sec). As you can see, it’s nice and warm to keep the cold away. Once it’s done, get to the shoulders and the sleeves (00 min 22 sec). That is the next step in the how to draw a Sweater Or A Jersey tutorial and I’d suggest we begin with the right one. This is actually quite an easy thing to do, to be honest.
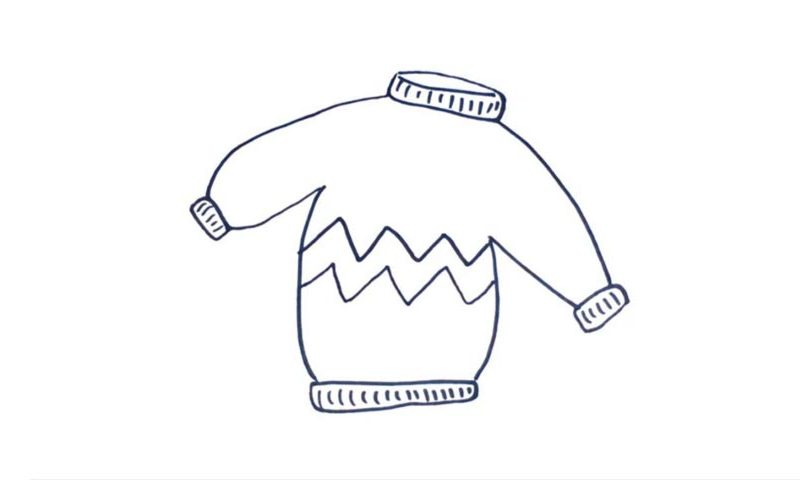
You’ll need two simple lines for each side (one long, and one a bit shorter), plus, of course, the cushy and fluffy parts at the end that look exactly like the neck. Did you notice that the left sleeve is a bit shorter than the right one? It doesn’t really matter because this isn’t supposed to be a 100% realistic picture. Obviously, now that we’ve got the upper half done, it’s time to get to the bottom.
This stage of the how to draw a Sweater Or A Jersey tutorial will require two vertical lines that are locked down at the bottom (00 min 45 sec). The lower part of the sweater is made of the exact same material as the neck and the tips of the sleeves (00 min 50 sec). Make sure you add those dots for more realism. The last thing to take care of is that zigzag-like pattern in the middle (01 min 03 sec).
Before you learn how to draw A Sweater Or A Jersey, did you know?
Say, in LA, or in most of the Middle-Eastern countries, you don’t really need to worry about winter clothes because it’s super-war 365 days a year. At the same time, in the rest of the world, those three months are pretty challenging and require us to wear warmer clothes.
Sweaters are one of the best and most popular picks among the modern-day men and women. They are practical, affordable, and look pretty great. Same goes for the Jerseys. If you’ve been living in a cold country for your entire life, then you don’t need us to tell you about this routine.