Learn How To Draw A Suitcase Quickly
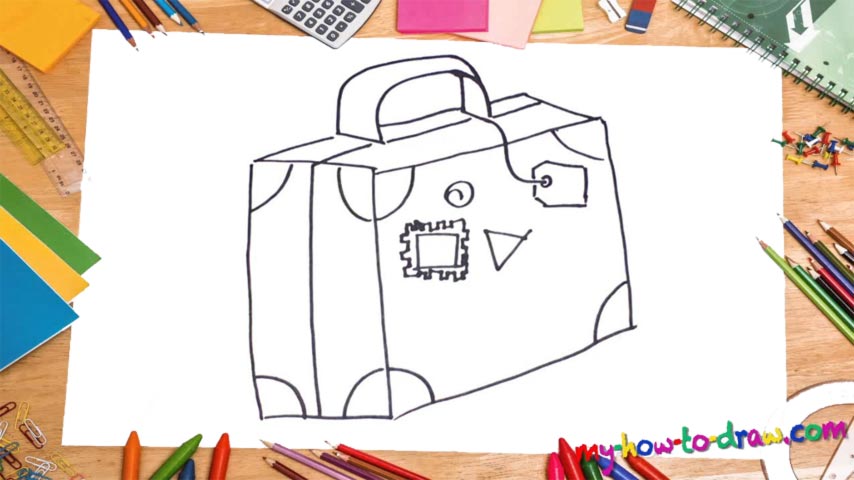
We’ve got an old – retro even – case in this tutorial, and it looks pretty awesome. It’s in 3D, which means you’ll have to be extra careful with your lines and curves. Ok, let’s get right to it and learn how to draw a Suitcase, shall we? Start with the square that sits in the bottom corner of the paper (00 min 08 sec). Once all four lines are done, move to the left.
The left part should be divided into two with a straight line (00 min 21 sec). Then, add those trademark half-circles all over the place. Overall, you’ll need two half circles and four 1/4ths, just like you see in the video and in my example. If you’re happy with everything so far, use a series of straight lines to complete the top of the drawing (00 min 50 sec). The handle sits right in the middle of it all.
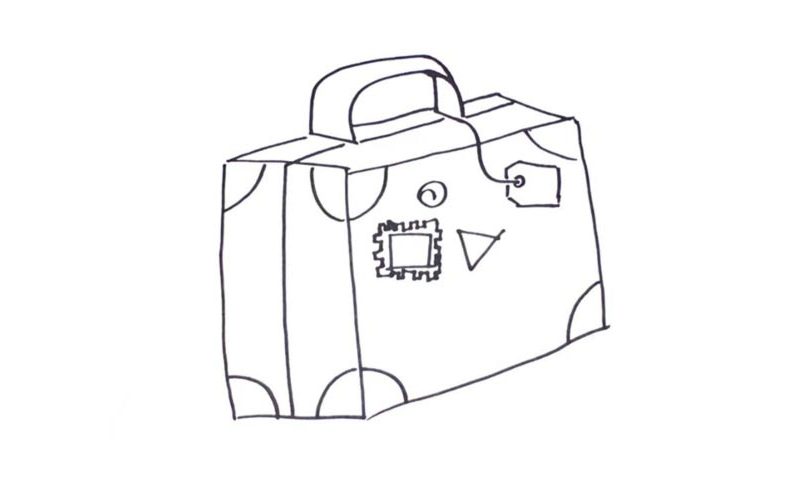
It’s the next stage of this how to draw a Suitcase tutorial. Thankfully, it’s super easy and straightforward. Finally, go back to the square we created in the beginning and add more details to it (01 min 24 sec). No need for me to describe every single thing. That badge hanging out looks cute, though (01 min 53 sec).
Before you learn how to draw A Suitcase, did you know?
As you probably already know, the suitcase isn’t just another form of luggage. There’s much more to it than meets the eye. First of all, it looks cool and helps you feel important. Second, some advanced brands come with those tiny wheels and make it easier to carry the weight.
They are locked with keys or a certain combination of numbers. Usually, we put our clothes and other personal belongings into the suitcases during the trips. If your job requires you to travel on a regular basis, then we bet you consider your suitcase to be a great traveling buddy.