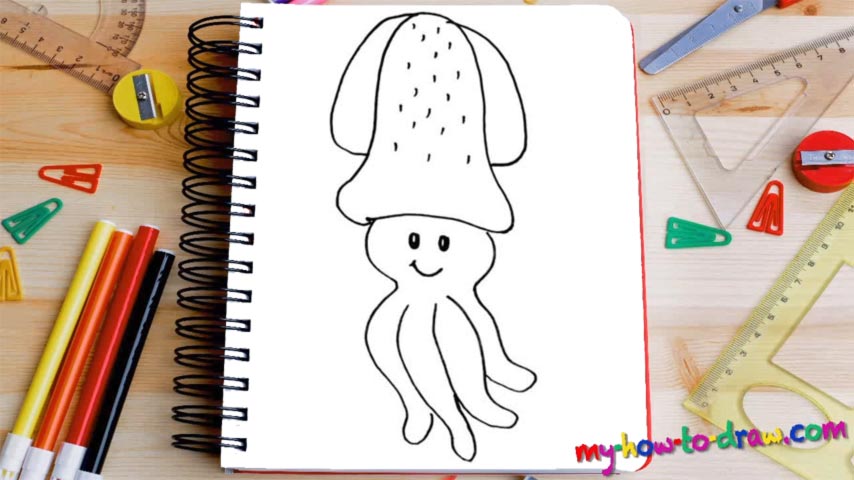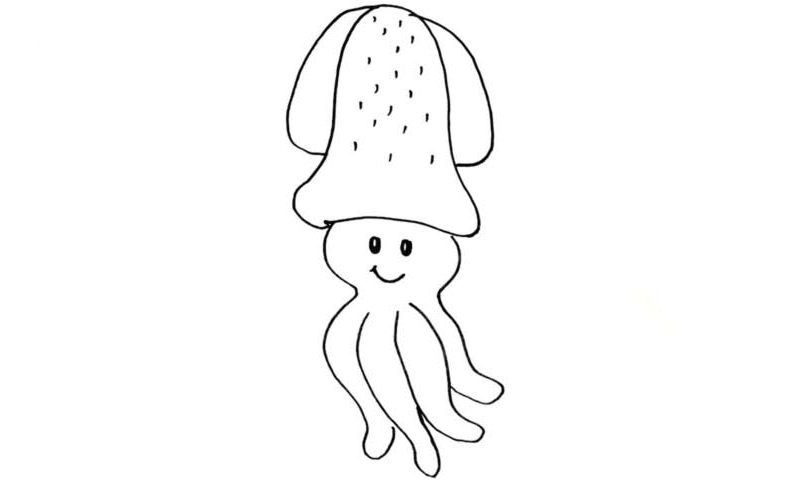
Learn How To Draw A Squid Quickly & Easily
We begin this tutorial with the Squid’s “hat” (00 min 07 sec). The main part of it looks like a bell of some sort, doesn’t it (00 min 16 sec)? Moving on with this how to draw a Squid tutorial, add the identical curves on both sides of it. Now our shape looks like a mushroom! See those dots I keep putting in? Do the same to make it look more realistic and let’s proceed to the bottom of the drawing to take care of the face.
The lower part of this creature is a bit tricky and will require your attention (00 min 35 sec). Overall, it’s got four tentacles at the very bottom of the paper that are tilted to the side a bit. Make sure you get their sizes right. If they end up being too long or short, you’ll lose the momentum, which is not a good thing. Obviously, the real thing looks a lot more complicated and comes with more details.
But our how to draw a Squid tutorial focuses on a basic image that’s still quite alright and will be a good addition to your collection. The last steps in this video guide are the eyes (just two tiny ovals) and the mouth (00 min 58 sec). Personally, I’ve never seen a Squid smile, but that’s not really important right now :).
Before you learn how to draw A Squid, did you know?
Just take a good look at this sea creature: isn’t it totally amazing? Again, we’ve got a simplified drawing in our tutorial, but if you check out a real photograph, you’ll definitely be blown away. It comes with eight arms, can swim really fast and even “fly” for a while.
These beings have been around for thousands of years, and over the course of time, they’ve changed a lot. The modern-day species are a lot more complicated and advanced, with new tentacles and organs that were never even there before. The giant squids look pretty scary – check it out when you get a chance.