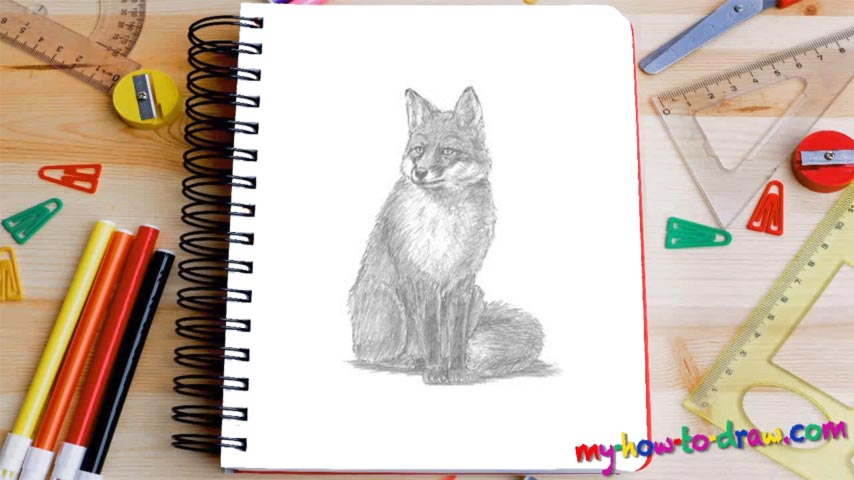
Learn How To Draw A Sitting Fox Quickly & Easily
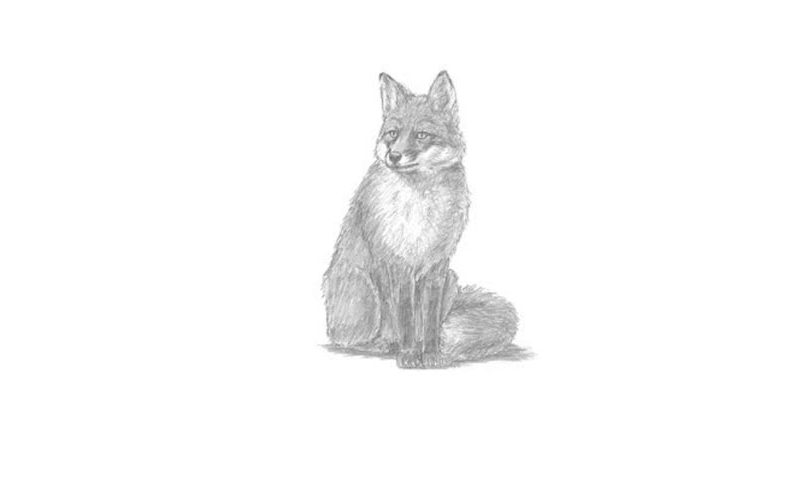
In terms of proportions and shapes, the fox is somewhere between an average dog and wolf – keep that in mind while working on this how to draw A Sitting Fox tutorial. For the guides, you’ll need two circles on top of each other (00 min 07 sec). The perky ears sit on top; the body consists of two primitive lines.
Once the guides are done, switch to dark strokes for the eyes (00 min 27 sec). Leave a tiny white spot and add a dark vertical line inside of each eye. The nose sits at the bottom of the head (00 min 42 sec). For the mouth, use a single horizontal curve that reaches the left eye (01 min 00 sec).
The next part of this how to draw a Sitting Fox tutorial is easy (01 min 05 sec). The legs are “squeezed” together; for the toes, use a series of simple lines. You’ll need wavy, short strokes to cover the animal’s body (01 min 15 sec).
See those two curves in the bottom left corner? They’re for the left leg. Finally, add the fox’s fluffy tail on the right to complete this lesson (01 min 20 sec). Get rid of the guides, and that’s it!
Before you learn how to draw A Sitting Fox, did you know?
The cartoons from back in the day have taught us that a fox is a bad creature that steals the food of others and tricks the innocent dwellers of the forest. However, that’s not really true. Yes, the fox is a predator, and it does attack the rabbits, but it’s definitely not the only beast that feeds on other brutes.
The long, fluffy tail, along with the long, upturned muzzle and the perky ears, is what makes the foxes stand out in the crowd. They can be found on pretty much every continent of the planet (except for Antarctica, of course). In the ancient times, people used to hunt foxes with hounds.