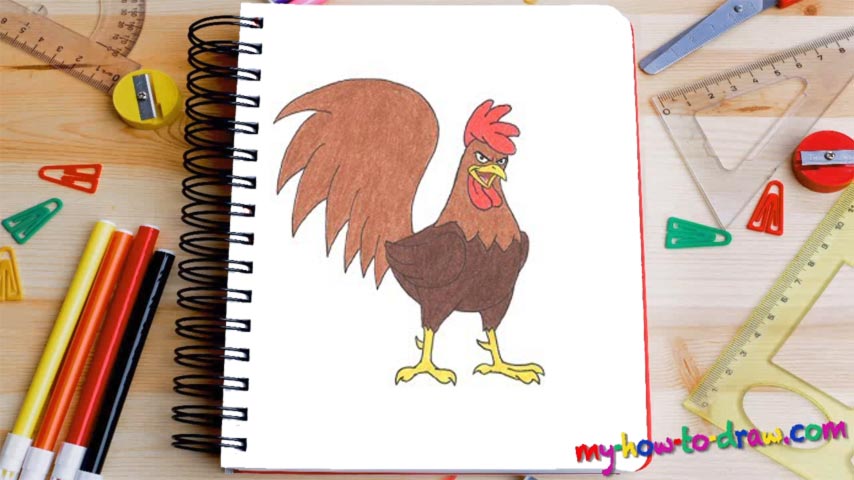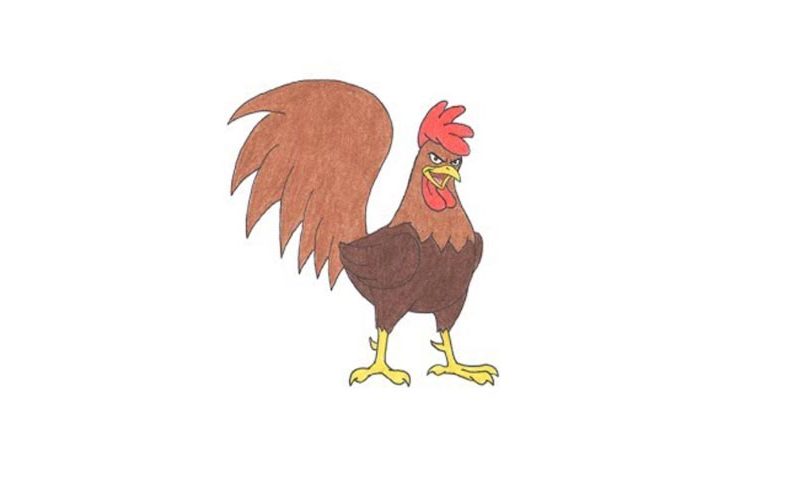
Learn How To Draw A Cartoon Rooster Quickly & Easily
The sharp, cocky brows come first (00 min 09 sec). For the eyes, you’ll need two ovals sitting right below them with two tiny circles inside (00 min 35 sec). The mighty beak is the next step in this how to draw A Cartoon Rooster tutorial (01 min 02 sec). It consists of two parts – start with the upper half.
For the bottom, you’ll need a V-like curve; the same goes for the tongue (01 min 26 sec). The crest, or, rather, the comb, should be bigger than the face (01 min 50 sec). Use a series of arcs like you see in the video. If you’re happy with it, move on to the neck (02 min 32 sec). Make sure the lines are smooth.
The wattle follows in this how to draw A Cartoon Rooster tutorial (03 min 02 sec). It consists of two simple U-shaped curves. The left wing is easy (03 min 20 sec). When working on the legs try to make the toes as wide as possible and don’t forget about the spurs (03 min 50 sec).
Finally, move to the middle left corner and add the gigantic tail (05 min 36 sec). The top looks like a question mark; the bottom is covered in arrows.
Before you learn how to draw A Cartoon Rooster, did you know?
This funny guy is the hero of numerous cartoons and movies for the kids, and, to this day, people are still very much fond of the rooster. It’s the male of a chicken, also known as a cockerel. This term originated in America and is also being used in Australia and New Zealand.
Interesting fact: the rooster is a polygamous creature, meaning it usually has several “wives.” His job is to protect the nests, but can’t take care of more than one at a time. So, he occupies the area where the hens nest and scares off any potential predators, along with other roosters that want to take over.