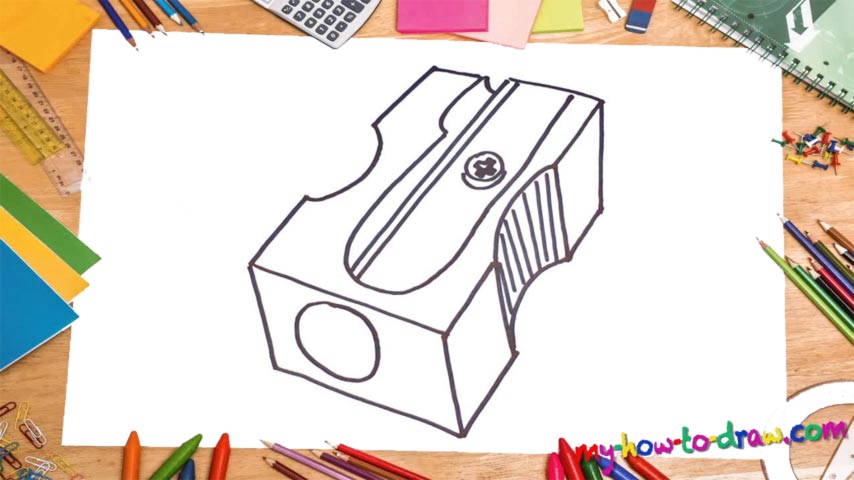
Learn How To Draw A Sharpener Quickly
This is a three-dimensional drawing, which means the lines should be in their exact spots in order for us to create the illusion. Begin with a rectangle in the bottom left corner of the paper (00 min 07 sec). It will be the starting point for us in this how to draw a Sharpener tutorial. Once it’s in place, move on further up and focus on the right side.
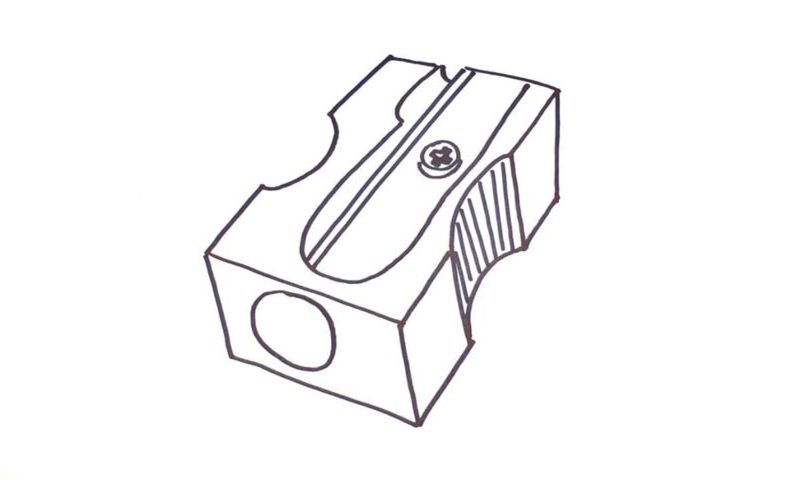
See that “dip” I’ve got in my video guide (00 min 27 sec)? Make sure you get its proportions right if you want a realistic image. The rest of the side is nice and simple, without any difficult curves. Add a series of straight lines for more authenticity (00 min 46 sec). If you’re happy with everything so far, jump to the left side and add a similar dip (00 min 54 sec).
The next step in this how to draw a Sharpener tutorial is the toughest one (01 min 03 sec). So, follow me closely and treat every single line with respect. Basically, you’ll be working on the middle section of the sharpener, where the mechanism is located. That line hides the blades that do all the work (01 min 17 sec). As for the screw to the right, it’s used for fine-tuning and/or fixing the blades. That wasn’t so hard, now was it?
Before you learn how to draw A Sharpener, did you know?
People that are used to drawing on a computer don’t really understand the need to use a sharpener. The virtual pencils never break down, and you certainly don’t have to sharpen them – the system does it all automatically. But in the real world, everything’s different.
And there’s something beautiful about using this tool to “grind” your fine collection of pencils. The smell is awesome, and the process allows you to relax and take a look at your drawing from a different angle. The very first sharpeners came to life in 1828. The modern-day versions saw the light of day in 2000+.