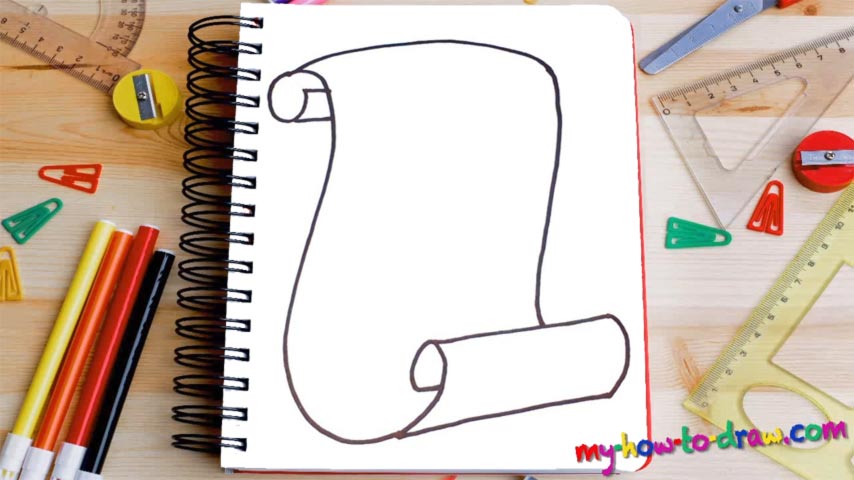
Learn How To Draw A Scroll Or A Parchment Quickly
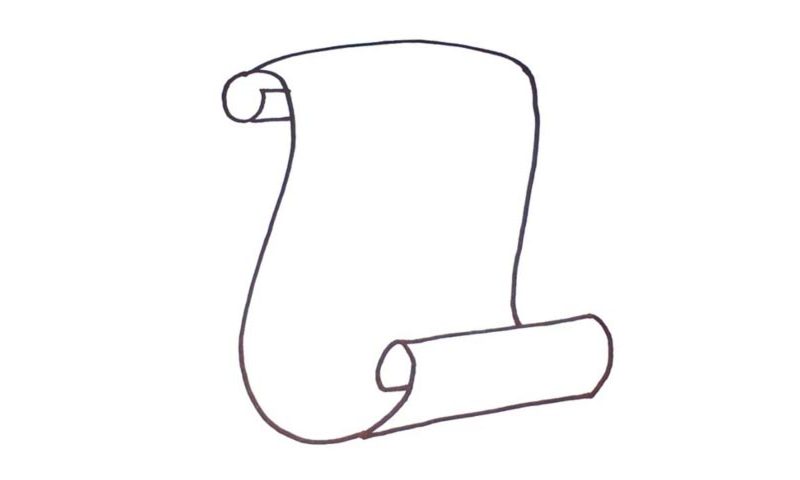
If you’re interested in torn and “beaten” parchments, take a look at our respective tutorial. In this video guide, we’ll focus on learning how to draw a Scroll Or A Parchment that looks good as new. Start by creating a tiny circle in the top left corner and leave some space to the right (00 min 11 sec). Next, add those two short lines just like you see in the video (00 min 19 sec).
That huge horizontal curve follows. It covers the top of the scroll. Once it’s in place, go ahead and draw a straight line coming down from the right corner (00 min 34 sec). There’s another line on the left, but it’s curvier at the bottom, as it shapes the lower half of the scroll. Make sure it rolls on itself nicely and create another circle just like the one you did in the beginning.
Alright, we’re almost done with this how to draw a Scroll Or A Parchment tutorial. Let’s add the finishing touches and bring this home. You’ll need three lines for this last step. The first two are horizontal and straight (01 min 07 sec). They are equal in size and should be connected to each other with a vertical curve (01 min 17 sec). Ok, the scroll is done! Go ahead and write something on it if you’ve got a strong message.
Before you learn how to draw A Scroll Or A Parchment, did you know?
If you love historical movies/TV shows about the Medieval Times, then you’ve probably noticed the majestic scrolls. They were used by our ancestors for writing down orders, maps, secret government plans, and other stuff.
Obviously, they are super outdated today and aren’t being used anymore. However, you’ll find both scrolls and parchments in certain libraries and museums that keep the legacy alive. In some remote convents, scrolls are still in wide use and gadgets are forbidden. Wouldn’t you want to visit a place like that for a couple of days?