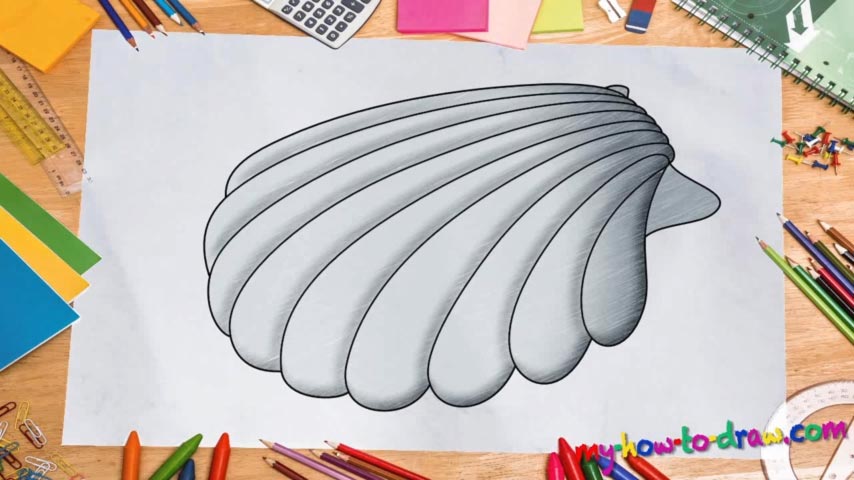
Learn How to draw A Seashell Quickly & Easily!
What can be easier to make than a seashell, right? Well, that’s actually true, but we still decided to introduce this how to draw a seashell tutorial to you. Grab your favorite piece of paper, position it exactly the way I did, arm yourself with a pencil and let’s take care of the rough sketch. That’s right – the light strokes come first.
Don’t scold yourself too much if you can’t get the lines and/or the circles fast enough. You can just go ahead and use the multiple strokes technique to get the shapes right. We begin with the half-circle at the top right corner (00 min 39 sec). There’s another one – opposite to it – that overlaps. The rest is just a series of similar super-long curves that go from the right corner to the left one (00 min 51 sec).
See that huge curve at the very bottom? You should get to it before completing all those horizontal lines (01 min 09 sec). Ok, now that we’re done with the intro, we can finally move on to the next part of the how to draw a seashell manual – the marker strokes (02 min 22 sec). You could say that it already looks very authentic, but wait until we finish it!
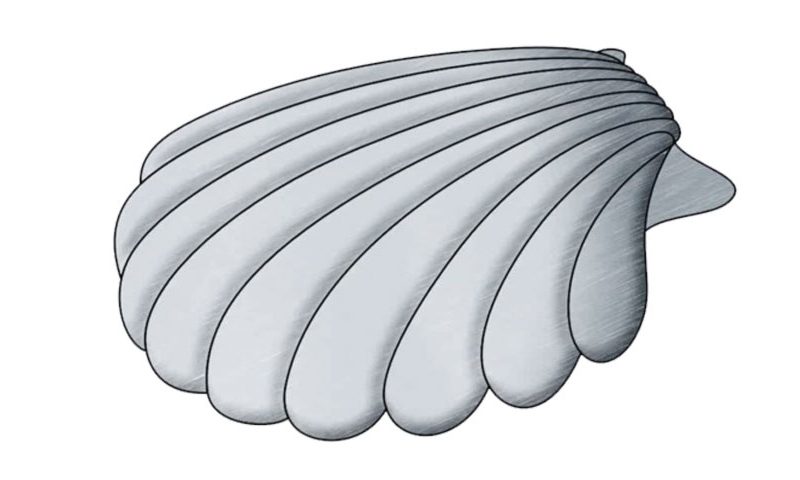
So, what you’ll need to do next is use the rough sketch and make every single shape more curvy and accurate. Begin with the right part of the drawing and move all the way to the left. See how nice and curvy the strokes are? That’s the most important part of this how to draw a seashell tutorial.
If you’re happy with what you’ve got so far, finish this beautiful composition with two tiny parts on the right and on the top (03 min 51 sec). And, naturally, before you get to coloring, make sure to erase all the pencil strokes.
Before you learn how to draw A Seashell, did you know?
Seashells might not be that popular among the artists, but they most certainly will teach you a lot of things. First of all, you’ll learn how to use the rough sketches right. Plus, if you master the art of drawing curvy lines, that will be truly awesome.