Learn How To Draw A Ruler Quickly
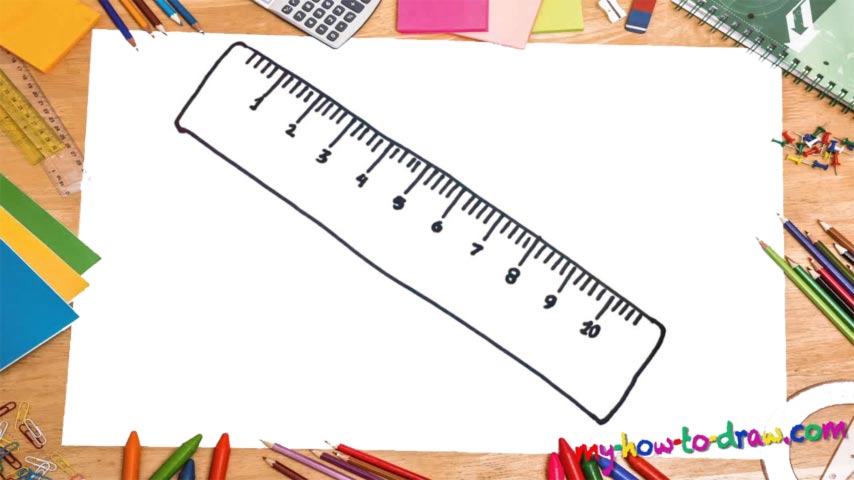
Without a doubt, this is one of the easiest videos on our website. However, it requires accuracy. So, treat it with respect and try to take something away with you. After all, that’s the main purpose of this how to draw a Ruler tutorial. First of all, we’ll need two parallel lines sitting next to each other (00 min 06 sec).
Lock them up in the upper and lower corners using straight lines (00 min 20 sec). Ok, the basic shape is in place. Now it’s time to add the lines that mark the centimeters and the millimeters (00 min 35 sec). Follow me closely on this one and keep the proportions right. We’ve got the short lines and the occasional longer ones that mark the milestones.
Overall, you’ve got 10 of those. If you’re happy with them, move on to the final step of this how to draw a Ruler tutorial – the numbers (01 min 35 sec). All you’ll need to do is add 1 to 10 under each long line – that’s it! Looks like the real thing, doesn’t it?
Before you learn how to draw A Ruler, did you know?
I don’t think you need me to explain to you what a ruler is because you definitely have one at home. It’s used for accurate measuring. It’s pretty hard to draw straight lines without it, and they are required in mathematics – especially in geometry. Plus, the ruler has equally spaced markings for more advanced measurements in, say, construction.
There are many different types out there. Some are made of plastic, some are made of fabric. We usually use the plastic versions at school. The very first editions were, of course, made of wood, and our ancestors considered them to be life-saviors. How do you think the ancient Egyptians were so successful in building their pyramids?

