Learn How to draw A Rose – Using Photoshop Quickly & Easily!
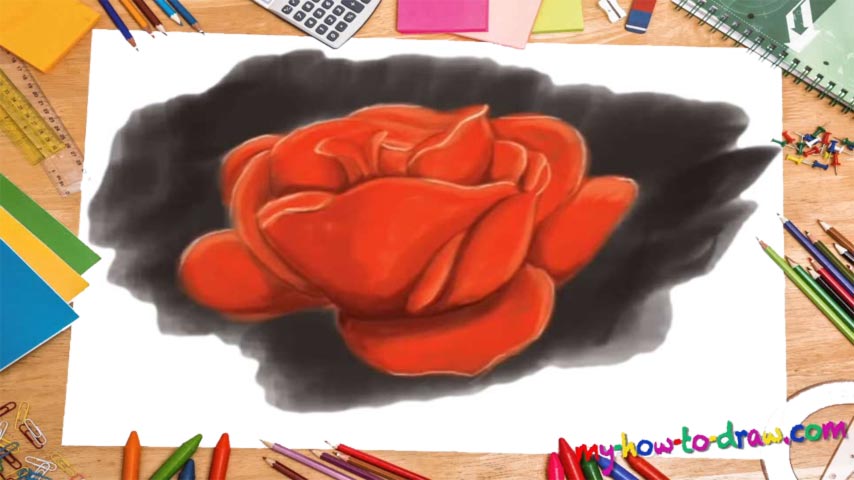
We’ll skip the drawing part and jump right to coloring (00 min 35 sec). For this video, you’ll need different tones or red, white, and black (or, rather, dark brown). Start this how to draw a Rose – Using Photoshop tutorial by coloring the whole thing in red. Don’t think about the accuracy – cover it all: we’ll be working on perfecting the composition next.
Make sure there are little to no “empty” spots left. Then, use white to make certain parts stand out (00 min 57 sec). Basically, just try to “lighten up” the corners and the top of the various petals. If everything’s looking good, switch to darker red and use it to accentuate the exact spots where the shadows fall (01 min 16 sec). You can even put a real rose in a similar position and see every single shade in real life.
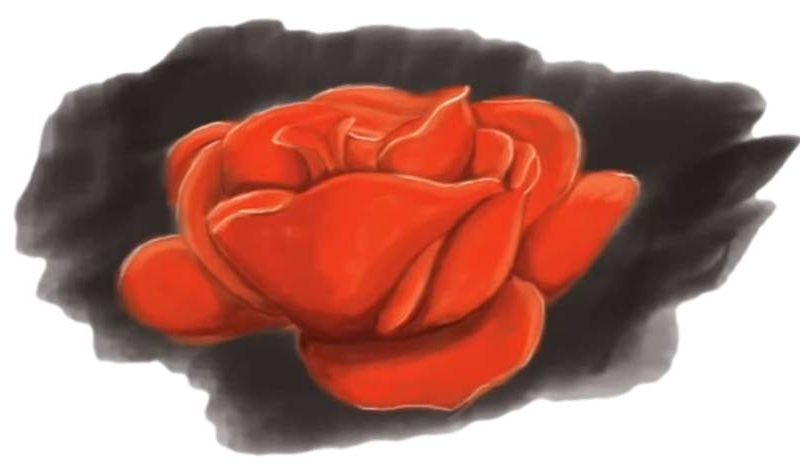
The next steps of the how to draw a Rose – Using Photoshop tutorial are basically the same thing (01 min 55 sec). Put some white strokes on the edges of the petals to make them stand out, then combine darker and lighter tones to create the illusion of the rose being a three-dimensional object. Its way more complicated when you read about it: in reality, it’s quite intuitive and you’ll master this technique way faster if you just watch the video. Don’t forget about the black background at the end (06 min 23 sec).
Before you learn how to draw A Rose – Using Photoshop, did you know?
Just like I mentioned above, we’ll be using three colors for this one. As for the brushes, we recommend going for the default round brush and the so-called simulated pencil brush. You can probably already tell that this is one of those “level 5” lessons because the rose looks great.
Thankfully, it’s not a very hard task. All you’ll have to do is follow the video closely and use lighter/darker tones of the three colors we just mentioned. If you’re more interested in drawing a rose outline with accurate lines and smooth curves, we’ve got a tutorial on this website!

