Learn How To Draw A Robot Quickly
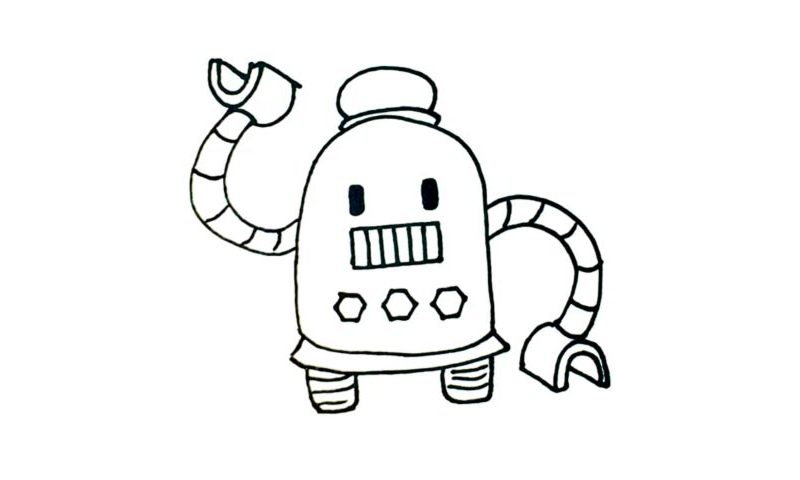
The body of this artificial guy looks like a dinosaur egg that’s about to hatch (00 min 05 sec). The eyes sit in the upper left and right corners and are rectangular in shape (00 min 23 sec). The mouth – a grid – is the next step in this how to draw a Robot tutorial (00 min 37 sec). For the right hand, use two identical curvy lines (00 min 55 sec).
The robot has pincers for fingers, and they allow him to control several mechanisms with ease (01 min 15 sec). To us, it looks like a magnet or a three-dimensional letter “C” facing down. The left hand is an exact copy of the right one, only stretching out in an opposite direction (01 min 33 sec). Alright, we’re almost done with the how to draw a Robot tutorial.
The legs sit on some sort of a platform (02 min 04 sec). Add it first before drawing the short yet strong limbs. The cute hat (or maybe it’s a light bulb, I’m not really sure) is the next step in this video guide (02 min 28 sec). Again, it looks like an egg, only this time it’s lying on the side. Finally, add the three knobs in the lower corner (02 min 37 sec).
Before you learn how to draw A Robot, did you know?
Since the dawn of humanity, we’ve always dreamed of creating artificial duplicates of ourselves and making them do the heavy lifting. Humanoids with electronics instead of organs and metal instead of skin and bones – that’s what’s been bothering the minds and hearts of the finest scientists and engineers of all times.
There are some big improvements in the field, and we do have walking robots that operate solely on their own. However, the initial concept of a totally autonomous humanoid that can replace the humans is still miles away. Who knows, maybe our children will get to meet them?
