Learn How To Draw A Realistic Eye Quickly
We begin with the main shape in the middle of the drawing (00 min 08 sec). The top comes first. The lower part follows. While working on this how to draw a Realistic Eye tutorial, make sure the left side is a bit longer and thinner to make it look more realistic. Use a simple vertical curve to separate it from the rest of the eye (00 min 25 sec).
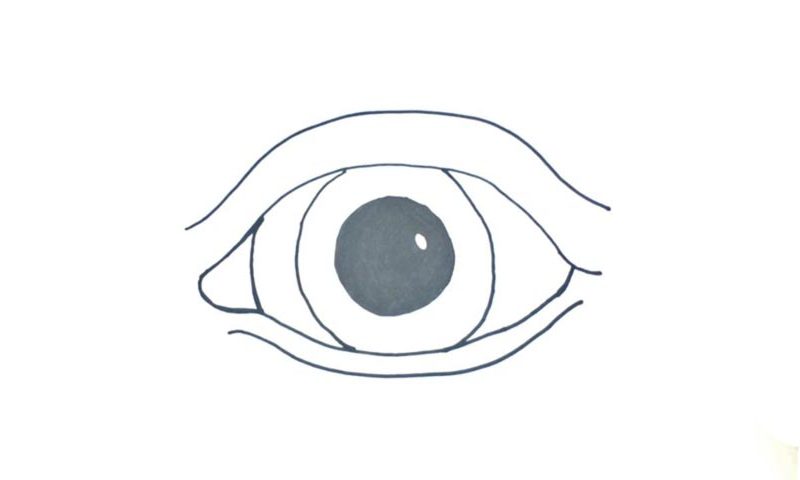
Ok, now it’s time to add two lines to cover the center (00 min 35 sec). The pupil comes next (00 min 43 sec). You’ll need one big circle for it. Don’t forget to leave a tiny white spot in the top right corner. The rest should be colored black. Alright, we’re almost done with this wonderful video guide. If you’re not happy with some of your shapes and/or lines, go back and fix them – don’t leave this routine to last.
And if everything’s great, let’s move on to the final part of this how to draw a Realistic Eye (02 min 15 sec). We’re down to the last two horizontal lines that cover the top and the bottom of this composition. They pretty much repeat the shape of the eye, which means it should be easy for you to complete this step. Ok, the lesson is over!
Before you learn how to draw A Realistic Eye, did you know?
Let’s be honest: this isn’t the most photogenic image of an eye out there, but it sure does look good. The most important thing here is that all the proportions are right and you’ll be able to take the knowledge from this tutorial with you and further improve your skills.
It’s not a hard lesson; rather an entertaining one. Those lines and curves are nothing we can’t handle. Same goes for the ovals. But if you give this basic drawing to a pro, he’ll turn it into one of the most realistic eyes you’ve ever seen. As I just said, all the right shapes are there, and for a beginner, it’s got just the right barriers of entry.
