Learn How To Draw A Pepper Quickly
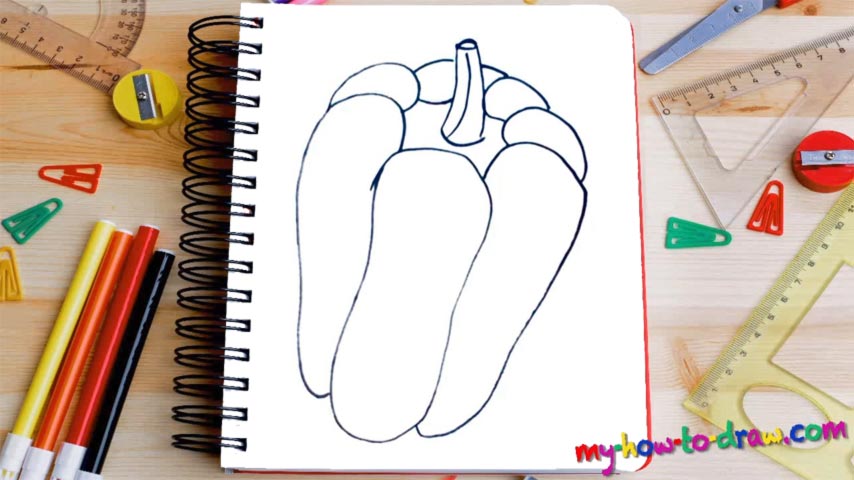
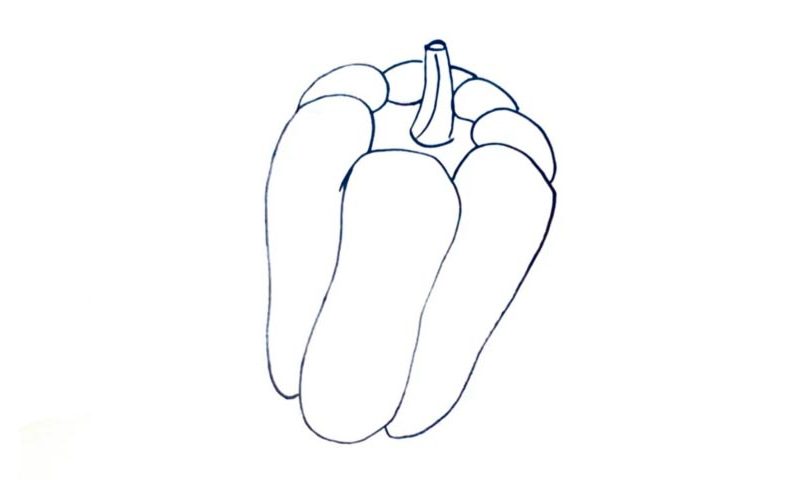
Our vegetable consists of multiple separate parts that look very similar to each other and a tail at the very top. That makes this how to draw a Pepper tutorial quite simple and enjoyable. Let’s begin with the “slice” in the middle (00 min 06 sec). It looks a bit like a band-aid, doesn’t it? Put it in first and only then move on to the rest of the slices.
Overall, you’ve got seven of those. The ones in the front take almost all the space, while the parts in the back are out of our sight. This is a classic image of a pepper. Usually, they’re just as long as the one you see in the picture; other times, this vegetable is shorter and wider. The tail covers the upper half of the drawing (00 min 55 sec).
For this part of the how to draw a Pepper tutorial, you’ll need a couple of simple curves and a circle on top. And that concludes today’s lesson. If you want, go ahead and paint the whole thing red. Or, go with yellow and green. They all taste great!
Before you learn how to draw A Pepper, did you know?
Peppers originated in the Americas. They are one of the continent’s most famous vegetables and have been cultivated for many centuries. Cheap, easy-to-grow, and quite tasty, they quickly became a “hit”. These days, peppers are a very common ingredient in many international cuisines. Furthermore, the medics are using them for their healing properties.
You’ve got the red, the yellow, and the green peppers in the “sweet section”. They can be eaten raw and/or cooked. Plus, peppers are great for stuffing with meat, cheese, and other ingredients. As for the Chili peppers, they’re an entirely different thing and will burn your mouth if you eat too much. If used properly, they will add that spicy flavor.

