Learn How To Draw A Panther Quickly
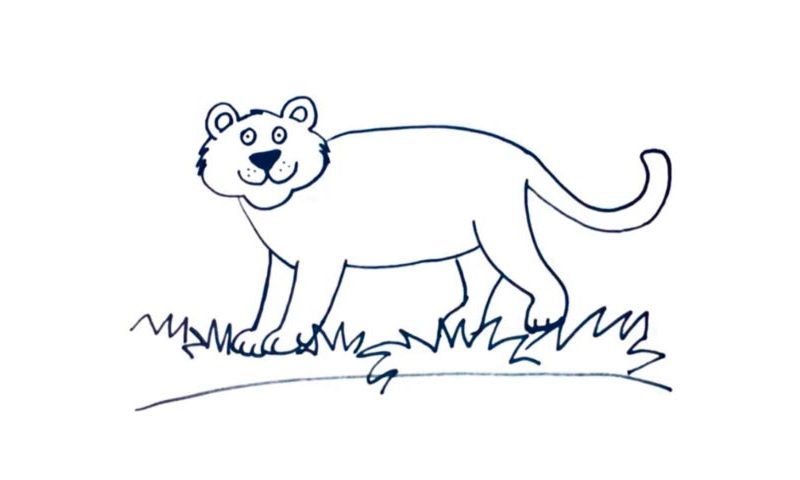
The eyes come first (00 min 07 sec). Once they’re in place, add the cute nose that looks like a reversed triangle (00 min 17 sec). The lines at the bottom are the mouth. Alright, we’re done with the facial features, the intro to this how to draw a Panther tutorial. It’s time to take care of the head now. Start with a nice curve in the lower corner (00 min 45 sec).
Remember: the cheeks should be fluffy to accentuate this cat’s fur. The ears are identical to each other (01 min 04 sec). You’ll need two half-circles and two oval-ish shapes for them. The animal’s body follows (01 min 23 sec). Use a super-long curve to cover both the back and the tail. The rear leg is the next step in this how to draw a Panther tutorial (01 min 36 sec).
All four legs look very similar to each other and will be a piece of cake for us. The ones in the front are located closer to each other than the rear ones, though (02 min 07 sec). The grass at the bottom of the paper is the last stage of this video lesson (02 min 24 sec).
Before you learn how to draw A Panther, did you know?
As you might already know, we use this word to describe Leopards and Jaguars that come in different color combinations. Some folks also include tigers and lions on the list. The very first documented mention of this subfamily dates back to 1917, more than 100 years ago. These creatures all look and behave like cats and have similar, if not identical features.
If you see one in an open field, that means you’re in a lot of trouble. Panthers are faster, stronger, more flexible, and some of the species can climb the trees (just like cats). With an impressive body weight, mighty muscles and claws that can tear through the flesh, they are one of the most dangerous animals on planet Earth. And yes, Panthers are apex predators.
