Learn How To Draw A Mushroom Quickly
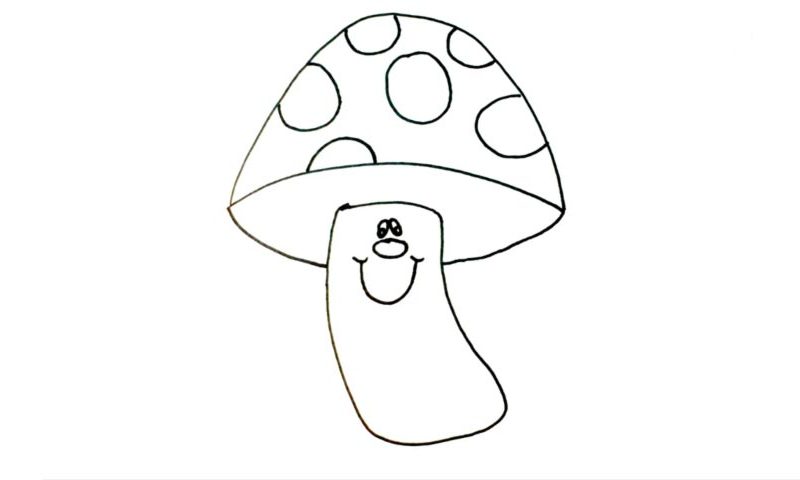
We begin this lesson with the huge “head” that takes up a lot of space on the paper (00 min 06 sec). First, create an arc that looks like the letter “C” facing down. Once it’s in place, use another arc-like curve to cover the bottom of it, just like you see in the video (00 min 14 sec). It looks a bit like a hat now, doesn’t it? This how to draw a Mushroom tutorial is in 3D, by the way.
And that means you’ll need to also take care of the lower left and right sides (00 min 21 sec). Don’t forget to leave some space at the very bottom for the “stem”. The main part of the mushroom is a simple vertical shape that holds that big head on its shoulders (00 min 32 sec). Try to make it a bit tilted to the side like I did.
The next step of this how to draw a Mushroom tutorial deals with the dots, or, rather, circles all over the head (00 min 45 sec). Happy with those? Then move on to the facial features (01 min 10 sec). The eyes are just two tiny ovals with black and white dots. The nose looks like a potato. The mouth is a half-circle sitting below it all (01 min 20 sec).
Before you learn how to draw A Mushroom, did you know?
Mushrooms usually grow in the forest and “come to life” after it rains. We, the regular people, don’t really know anything else about them. These spore-bearing funguses can be big, small, come in different colors, and grow pretty much all over the world. I bet you’ve already heard that certain types of mushrooms are poisonous and can kill a grown man.
Now, according to the biologists, we’re not using this term correctly, as we use it to describe other things that aren’t really related to them. Get this: there are 14K+ species of mushrooms known to mankind, and the list is constantly getting bigger. Some of them taste pretty good and we use them as culinary treats during special days.
