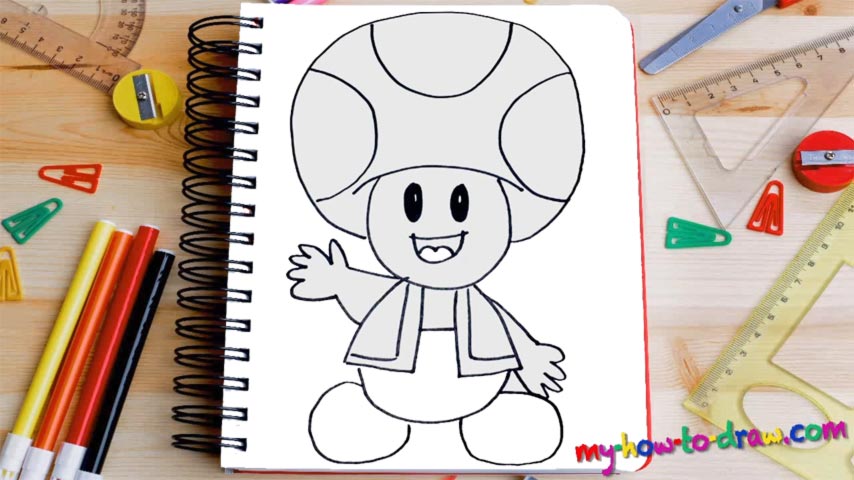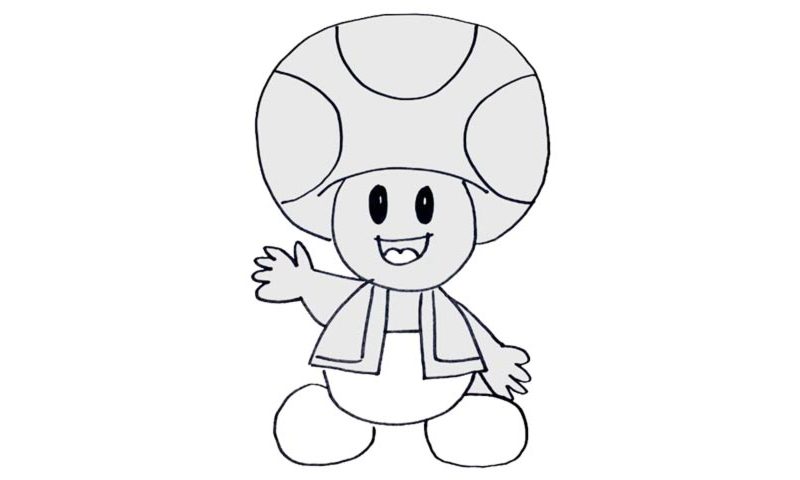
Learn How To Draw A Mario Bros Mushroom Quickly
You’ll need a half-circle to cover the head (00 min 05 sec). Use a simple horizontal curve to cover the top. The eyes are two black ovals with white spots in the center (00 min 14 sec). The mouth is a piece of cake. The “hat” is the next step in this how to draw a Mario Bros Mushroom tutorial (00 min 40 sec). Create a huge circle for it that sits right above the head.
Three C-like curves – that’s all you’ll need for the pattern inside that hat. If you are happy with everything you’ve got on the paper, move on to the lower half of the drawing (00 min 55 sec). The body is pretty tiny compared to the head (or, rather, the hat) and looks like a pot. The hands are very short – nothing hard about them (01 min 11 sec).
To complete this how to draw a Mario Bros Mushroom tutorial, add the legs at the very bottom (01 min 26 sec). Actually, we can only see the feet, and they resemble potatoes or big, heavy rocks. In any case, that concludes today’s lesson.
Before you learn how to draw A Mario Bros Mushroom, did you know?
If you’re a fan of the Mario universe, then you don’t need me to tell you what these mushrooms do: they give the hero and additional heart (life), reaching a maximum of 4. It’s not that easy to find these, but you’ll definitely need an additional heart if you’re playing in the Hard mode. Yes, this is quite a difficult game and requires pro skills.
Over the time, the rules changed a bit, but the initial concept is still there: the mushrooms help Mario survive the harsh world where he needs to save the Princess. The image of a mushroom from the early games in the franchise has turned into something iconic, even though the modern-day Mario games are three-dimensional and look much better.