Learn How To Draw A Little Monster Quickly
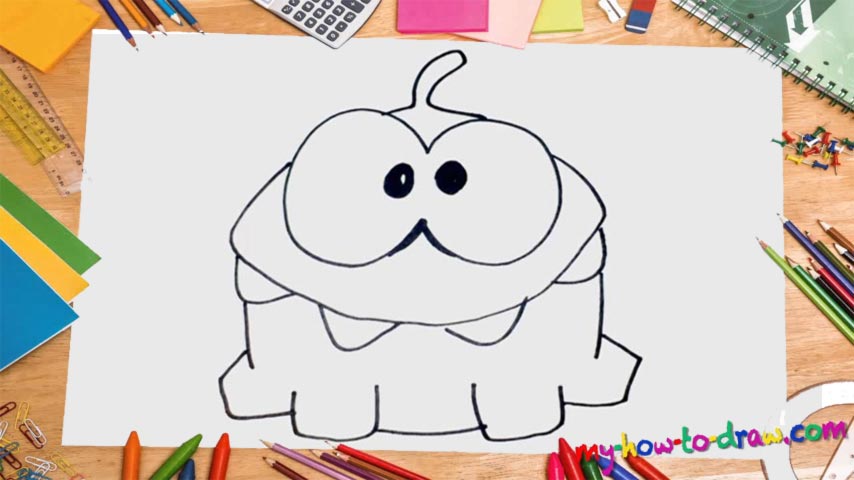
Now, as the eyes are the main “attraction” of this drawing, we’ll start there (00 min 06 sec). You’ll need two equally-sized (and opposite) C-like curves that connect to each other and form one big, cohesive shape. Once it’s in place, go ahead and add the pupils (00 min 21 sec). Color them black and place very close to each other for that cartoon vibe. That’s the intro to our how to draw a Little Monster tutorial.
Still, leave a tiny bit of white inside every eye for a realistic picture. Ok, it’s time to move on to our character’s body (00 min 40 sec). For that, you’ll need a simple shape at the bottom of the eyes just like you see in the video. Next, draw four “teeth” right below it. They look the same and cover the top of this drawing. Don’t forget about that cute “hat” on top of the eyes (00 min 54 sec).
Moving on with this how to draw a Little Monster tutorial, take care of the lower half of the brute (00 min 59 sec). It’s got two legs and two arms (four limbs in total), and they all look pretty much the same. Alright, that’s it for today’s lesson! Don’t tell me you’re not amused by this wonderful character!
Before you learn how to draw A Little Monster, did you know?
Generally, monsters are made to put fear in our hearts and make us run and hide. But in this case, the tiny beast can only bring a smile to our faces. It’s pretty much harmless and prefers to stick to itself. Still, you’ll need to watch out for it; who knows what it’s capable of?
With a body that looks like a cupcake and two huge eyes, this monster would be a welcome guest in numerous animated movies that we see at the theaters. As you can see, the tutorial is pretty basic and simple. It will be right up our alley!