Learn How To Draw A Kitten Head Quickly & Easily
Since the head is the only thing that we’ll be working on today, let’s make sure it looks as good as possible. For that, start the how to draw A Kitten Head tutorial by adding a huge circle in the middle of the paper (00 min 07 sec). Don’t go for a super smooth circle – we’ll get to the details later.
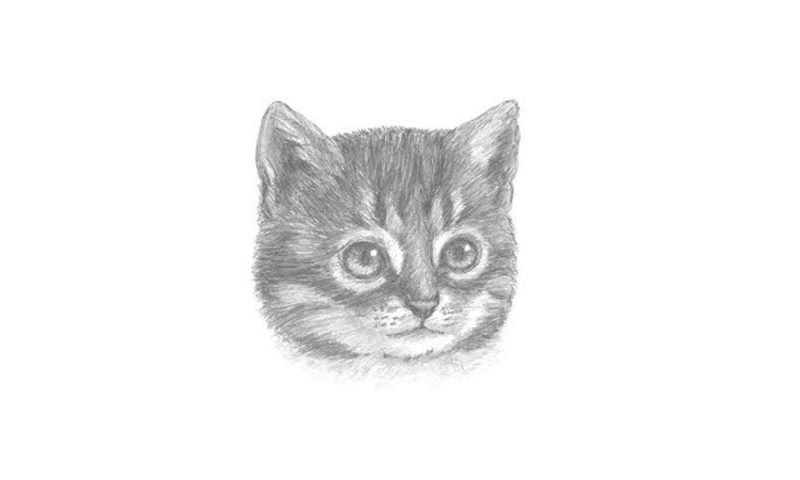
To make sure the proportions are right, follow my lead and create two dividing lines and one tiny circle at the bottom (00 min 12 sec). Once the triangle-like ears are done, it will be time to get to business (00 min 22 sec). The eyes are nice and big. They sit above the horizontal dividing line. Put two tiny circles inside the big one and color them black and white.
A common mistake with the nose is when it’s too long (00 min 41 sec). Watch the video closely in order not to mess it up. The mouth, the next step of this how to draw A Kitten Head tutorial, is just one simple horizontal line. The next step can be called “fluffiness” – go ahead and add zigzag-like lines all over the kitty’s head (00 min 59 sec). Finally, get rid of the guides (01 min 15 sec).
Before you learn how to draw A Kitten Head, did you know?
If you take a good look at the kitten in our video, you’ll see that it looks a lot like a human kiddo, especially with those cute eyes. According to recent studies, animals are capable of feelings as well, and their faces express a wide range of emotions. Keep that in mind the next time you see a cat or a dog on the street.
This particular kitty looks like it was born recently and can’t really take care of itself. Important note: even though this tutorial might pose a certain challenge for you, especially if you’re just getting started, it’s totally OK. The thing is – once you master it, all the other animal faces will be a lot easier for you to handle.
