Learn How To Draw A Canadian Goose Quickly & Easily
You might find it weird, but the best way to start this lesson is by adding a circle at the bottom of the paper (00 min 07 sec). Next, create two half-ovals on both sides to make it look like a human eye. The next step of our how to draw A Canadian Goose begins with another circle on the left side (00 min 12 sec). It’s a lot smaller and comes with a triangle that will serve as the beak.
Connect the two shapes to each other with two simple horizontal lines. To complete the intro, draw the guiding lines for the tail (00 min 16 sec). Wait – don’t forget about the wings (00 min 18 sec). They should be nice and tall and look like blades. The one and only eye is just a tiny black dot; the beak should be divided into two parts with a wavy line.
For the wings to look better, add a series of feathers on both sides (00 min 33 sec). For the tail, the final part of this how to draw A Canadian Goose video-guide, just add a couple of smooth lines as I did. Before we say goodbye, get rid of the guiding lines (00 min 50 sec).
Before you learn how to draw A Canadian Goose, did you know?
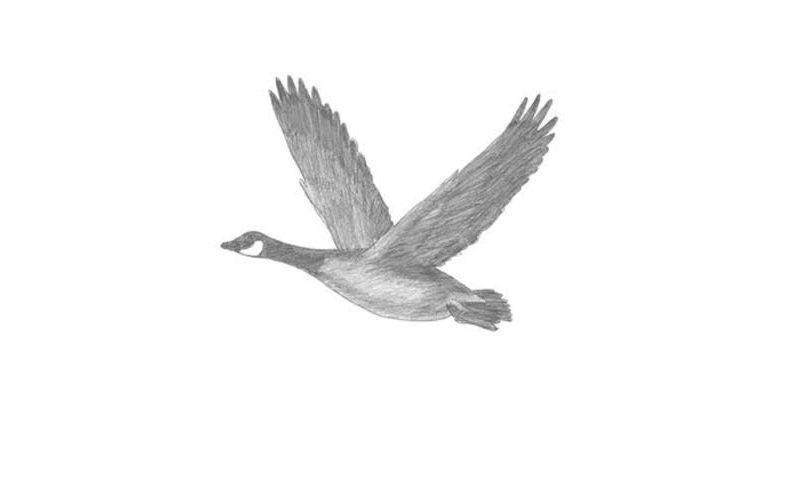
This species is different from the regular geese in that it’s a lot bigger and comes with a black head (and neck). The cheeks, however, are 100% white; the same goes for the chin. The body, in turn, is brown, and that color combination creates quite a beautiful image. The Canadian Geese are native to North America.
As the name suggests, they prefer to live in the colder parts of the US and Canada. Like most geese, this species spends most of its time in and/or near fresh water – that’s where they find their prey. Furthermore, these birds are capable of living side by side with the humans (take the national parks, for example, or the roofs).
