Learn How To Draw A Jellyfish Quickly
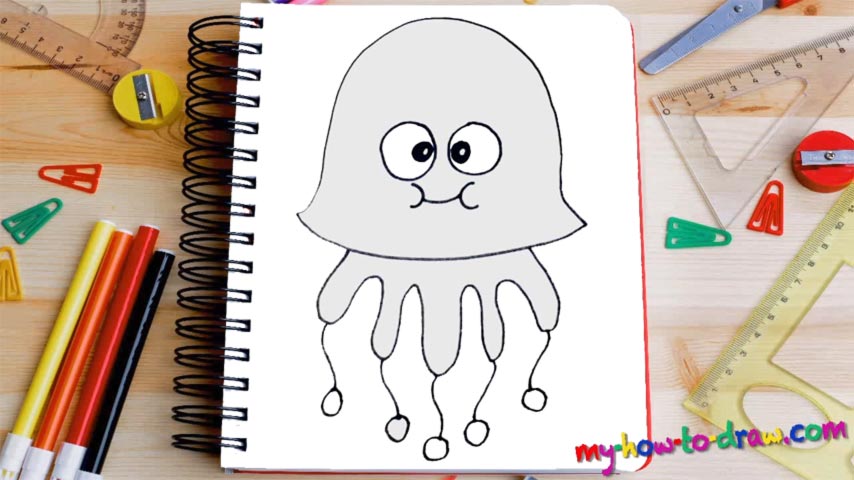
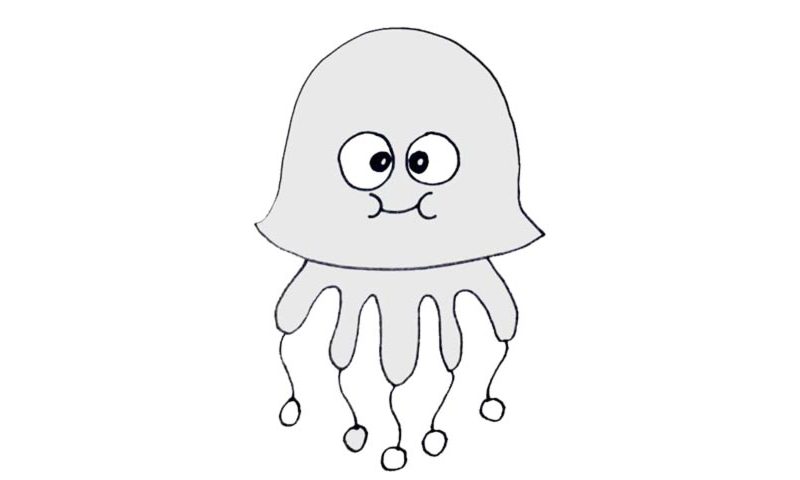
This is a simplified image that will help you master the basics. Obviously, these creatures don’t have facial features on the side of that “umbrella”. But for the sake of this how to draw a Jellyfish tutorial, let’s have some fun and add them :). We start with the “dome” that also looks like a soldier’s helmet (00 min 06 sec). Once it’s in place, the head will be done.
The identical eyes are placed very close to each other (00 min 16 sec). We’re going for a cartoon vibe in this video guide, which means you should make the left eye just a smidge bigger than the right one. After you put in the pupils, move on to the mouth (00 min 34 sec). Yes, it’s very simplified, but that’s exactly what gives our character that funny and engaging look.
The tentacles are the next step in this how to draw a Jellyfish tutorial (00 min 40 sec). They look like the fingers on a widely open palm. You’ve got five in total, with the one in the middle being bigger than the rest. The final thing to do is to add those “bells” that come down from the tip of every single tentacle (00 min 47 sec). Alright, now we’re officially done!
Before you learn how to draw A Jellyfish, did you know?
It’s safe to say that when it comes to the aquatic animals, we can expect all kinds of unique and one-of-a-kind creatures that take our breath away. Jellyfish have multiple tentacles and an umbrella on top that gives them that futuristic and somewhat scary look.
Pulsation is the driving force behind these animals: they use it to move around freely. As for the tentacles, they serve multiple purposes. Jellyfish use them to attack their prey and/or to protect the fragile body from the underwater predators. They’ve got quite a nasty sting!