Learn How To Draw A Fishing Rod Quickly
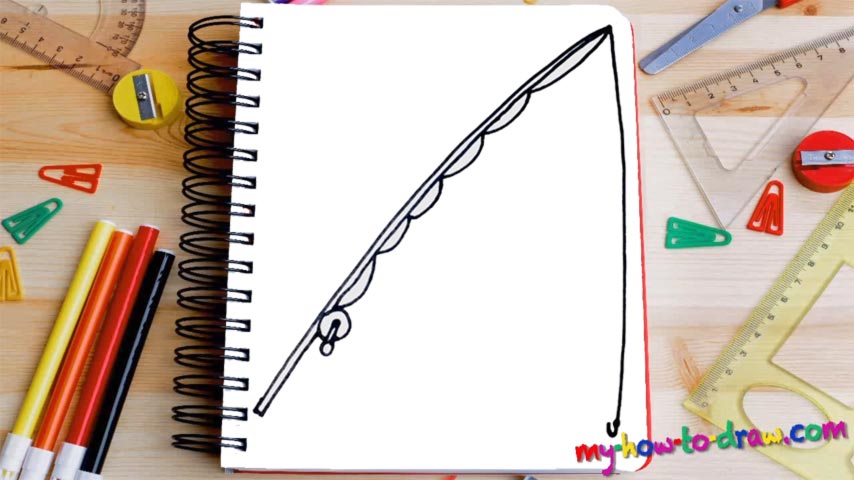
As far as the easiest and most intuitive video guides go, the one you’re watching right now is pretty high up on the list. So, if you want to learn the basics of drawing and/or perfect your skills, let’s check this how to draw a Fishing Rod tutorial! We start with the stick that takes up most of the space on the paper (00 min 07 sec).
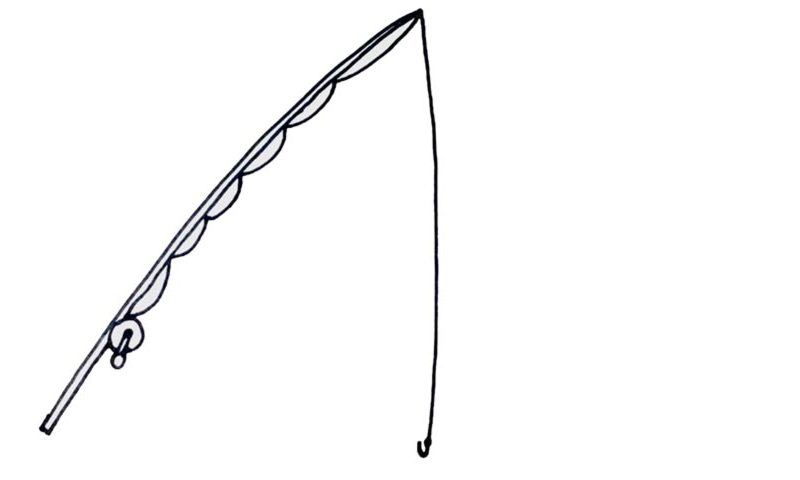
The stick itself is quite thin. Before reaching the bottom, add the handle (00 min 20 sec). Next, get to the line (00 min 37 sec). You’ll need multiple “waves” on the right side of the stick reaching the very top. Overall, there are six waves of different length. The drawing already looks quite alright, doesn’t it? But wait, we’re not done with this how to draw a Fishing Rod tutorial yet.
The long line with a hook at the end is the final thing to take care of (00 min 46 sec). Just draw a vertical curve that forms an arc with the stick and add an “anchor” at the bottom. That’s actually it for this video guide. Now you can go ahead and try to master the sophisticated art of fishing in real life!
Before you learn how to draw A Fishing Rod, did you know?
If your dad or grandpa loves fishing, then you don’t need us to explain the ins and outs of a good “stakeout”. The rod is what we use to catch fish. It’s been around for ages. As a matter of fact, according to the inscriptions found in, say, Ancient Greece, it’s safe to say that humanity invented this craft back in 2000 BC!
Yes, that’s how long our kind has been fishing. No wonder it’s such a beloved hobby among some. To break it down, a rod is made up of a regular stick and a long line that’s got a hook for a tip. The rod is usually as long as 0.61-6.10 cm. And, we use bait to lure the fish.