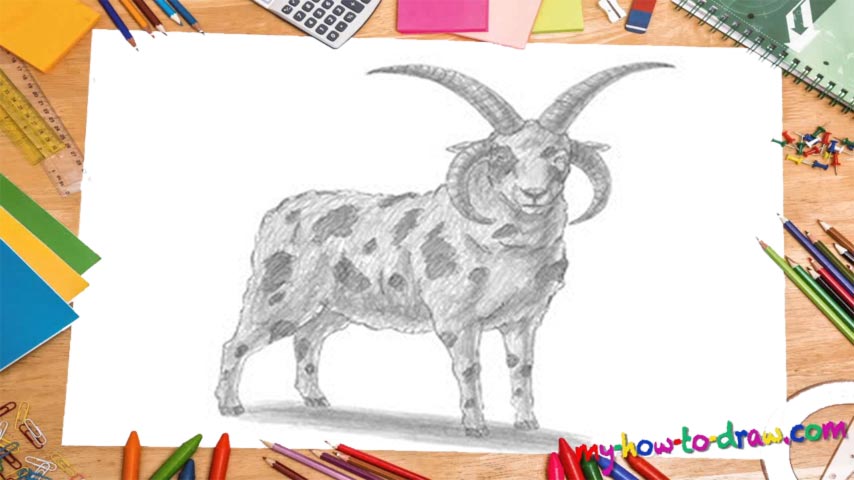
Learn How To Draw A Jacob Sheep Quickly
We’re gonna use the classic light strokes/regular strokes technique in this lesson. Let’s start with a circle for the animal’s head (00 min 23 sec). Add the chin and divide the resulting shape with 1 vertical and 2 horizontal curves just like you see in the video (00 min 50 sec). To mark the horns, just create 2 long lines that look like antennas (01 min 05 sec).
That’s it for the intro to this how to draw A Jacob Sheep tutorial. The 2nd set of horns sits right below the 1st one and points to the bottom of the paper (01 min 22 sec). For the body, we’ll use 2 circles of different size (01 min 46 sec). The 4 vertical lines are the legs (02 min 31 sec). Ok, the guides are in place. Now let us learn how to draw a Jacob Sheep!
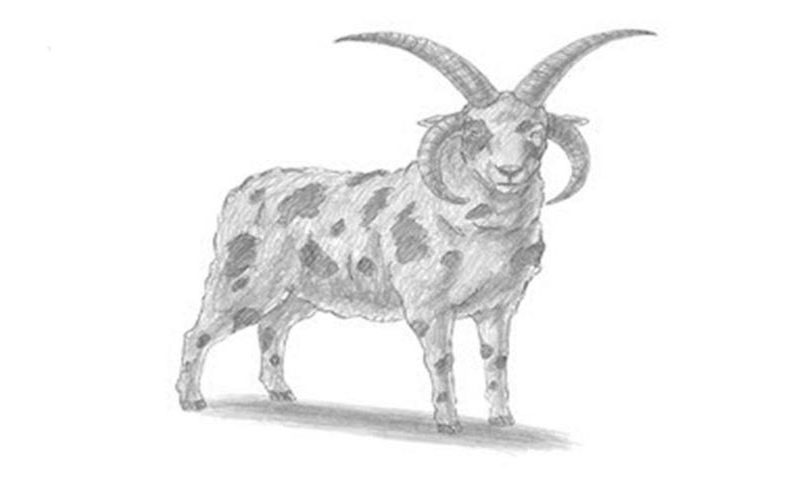
Switch to hard strokes for the next part. The eyes should be pretty tiny (03 min 03 sec). As for the horns, make then nice and thick – use the light strokes as guides (05 min 00 sec). The ears sit on top of them (06 min 33 sec). The outline of the body should be fluffy (09 min 55 sec). Same goes for the legs. Don’t forget to get rid of the light strokes before moving on to coloring and shading (10 min 30 sec).
Before you learn how to draw A Jacob Sheep, did you know?
Take a good look at that animal: doesn’t it look like a God from the ancient fairy tales? In reality, the Jacob is just a breed of the regular domestic ship. Found in Great Britain, it comes with a dark-colored skin (with some characteristic white spots) and several horns. The most common “set” is 4 horns on its head.
This breed was first introduced to the world in England back in the 17th century, but its origin is still a mystery. Centuries ago, it was more of an “ornament” for the wealthy folks rather than a domestic animal. These days, however, the Jacob sheep gives its owner skin, wool, and meat, just like most of its “siblings” on the planet.