Learn How To Draw A Howling Wolf Quickly & Easily
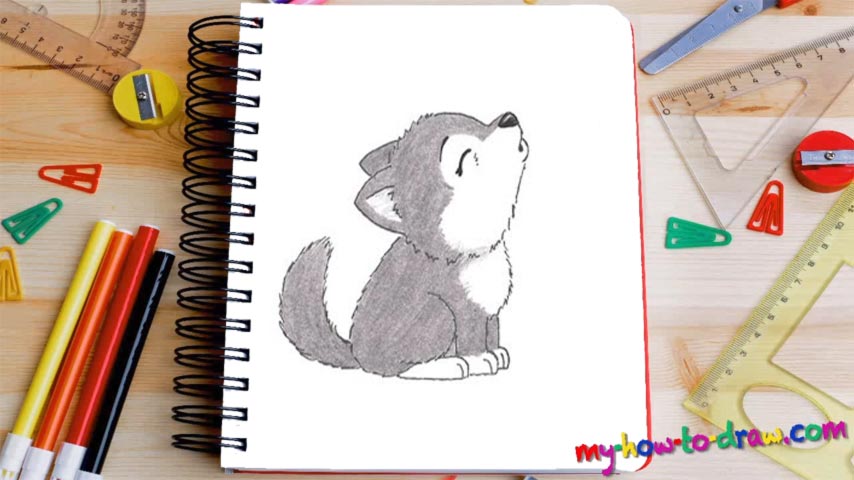
Since this is a cartoon drawing, the beast’s head is almost as big as the body. The cute closed eye comes first in our how to draw A Howling Wolf tutorial (00 min 10 sec). Make sure it’s nice and thick. The eyebrow is a similar line (but shorter and lighter) (00 min 25 sec). The nose is like a tiny stone (00 min 42 sec).
For the mouth, you’ll need two primitive vertical lines sitting on top of each other (01 min 05 sec). For the front of the wolf’s head, draw a simple horizontal curve (01 min 25 sec). For the furry part of the head, however, switch to short, wavy strokes (01 min 35 sec).
The ears are easy (01 min 47 sec). They have a triangle-like shape. The one in the back should be significantly smaller than the ear on the front. Before we move to the body, the final part of this how to draw A Howling Wolf tutorial, don’t forget about the fluffy neck (02 min 20 sec).
The chest and the back should also consist of short strokes. For the legs, switch to straight lines (02 min 42 sec). Finally, add the big, pointy leg in the lower left corner – that’s it (03 min 55 sec).
Before you learn how to draw A Howling Wolf, did you know?
Even though the wolf in our drawing is very cute and looks like a little baby, in the real world, these predators are quite aggressive and dangerous. Remember: these beasts are apex predators – that means they are always the hunters, never the prey. Wolves are known for the strict “chain of command” in a pack.
Plus, they are incredibly intelligent for animals. The only creatures that they fear are, of course, the humans, since they are significantly smarter and can kill from afar. Wolves can run as fast as 37 miles per hour; their heightened senses of hearing, smell and sight give them an edge when chasing after prey.