Learn How To Draw A Happy Emoji Quickly
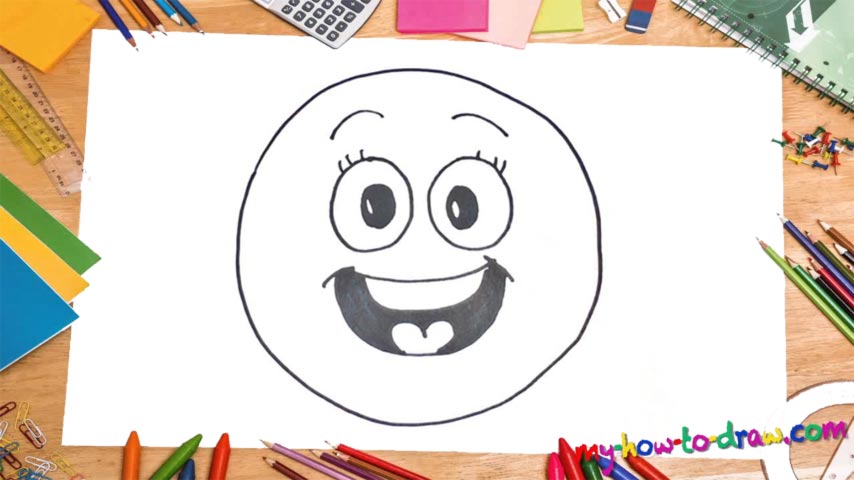
Just like with any other drawing where the head plays a major role, we should start this how to draw a Happy Emoji tutorial by creating a huge circle right in the middle of the paper (00 min 06 sec). Make sure it’s nice and smooth. But don’t go for perfection, because it’s not really needed in this particular lesson. Watch the video and study my example to really get it.
The eyes, as always, sit really close to each other and take up a lot of space (00 min 18 sec). Add two smaller circles inside it and color them black (00 min 28 sec). Don’t forget to leave some white spots to imitate realistic pupils. Looks pretty funny already, doesn’t it? The tiny eyelashes are the next step in this how to draw a Happy Emoji tutorial (00 min 55 sec). You’ll need three of those for each eye. The lashes follow (01 min 02 sec).
The mouth, the most important part of this video guide, comes next. First of all, draw a simple curvy horizontal line for the top. Add a second one below it. Divide the two parts with yet another line between them and put the tongue at the bottom (01 min 22 sec). Color everything around it black (01 min 33 sec). That’s it!
Before you learn how to draw A Happy Emoji, did you know?
This isn’t our only Emoji tutorial on the website – there are plenty more. And they all look pretty much the same, except, of course, for the facial features. They are the main attraction and come with a whole number of emotions to represent your current mood and state of mind.
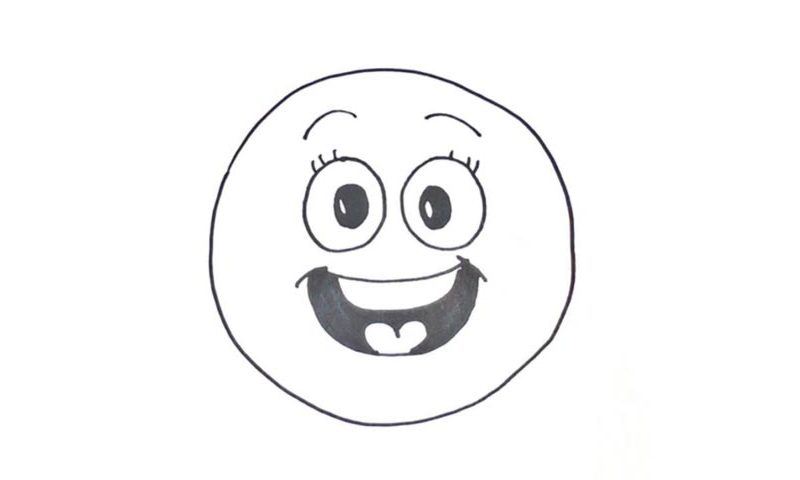
In this particular example, we’ve got a happy (and funny) face, which means everything’s alright and we’re having a great time. The Emojis haven’t been around for that long, but they’re already incredibly popular, as they provide a new means of communication, and that’s priceless.