Learn How To Draw A Dinosaur Quickly
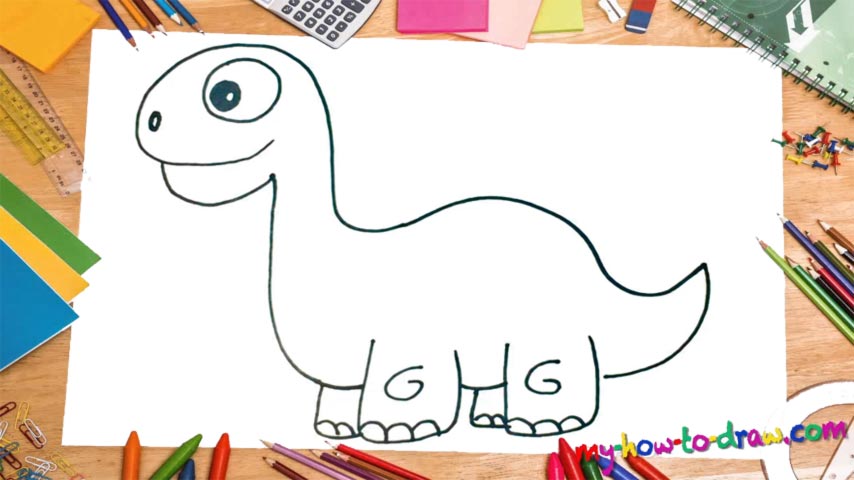
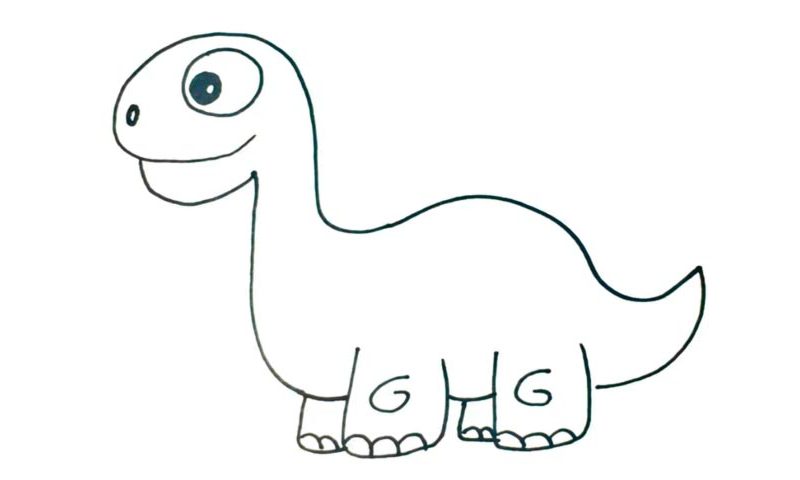
Doesn’t this creature look cute? It’s an easy drawing, too, which means we’ll get to have fun with this video lesson. Start in the upper left corner with the head (00 min 06 sec). It resembles an egg, right? However, you should leave some space on the right and use two curvy lines to add the neck. That part below the head is the lower jaw (00 min 20 sec).
Ok, if you’re happy with everything so far, go ahead and add the huge eye in the middle of the head (00 min 27 sec). You’ll need three circles for it: the biggest one “houses” the other two; the tiniest one is just a white spot for the pupil. The nostril sits in the lower left corner (00 min 40 sec). Alright, let us move on with this how to draw a Dinosaur tutorial.
The animal’s back is next on the menu (00 min 50 sec). It should be nice and curvy. The tail is pretty short. It’s got four legs – also short – and they all come with three fingers (01 min 02 sec). The ones in the back are partially covered by the ones on the front. Don’t forget about those curves that look like the letter “G.”
Before you learn how to draw A Dinosaur, did you know?
Dinosaurs used to rule Earth approximately 66 million years ago. However, these days, only the birds remind us of their existence. After the so-called Triassic-Jurassic event, they became the dominating beings on the planet. Thanks to the paleontologists, we know today that the world was populated by over one thousand different species of dinosaurs.
In the modern-day culture, they are very popular, especially after the tremendous success of the Jurassic Park movie series that came out 2, 5 decades ago. TV shows, movies, books, and video games really love to introduce these creatures to surprise the audience.

