Learn How to draw A Daschund Quickly & Easily!
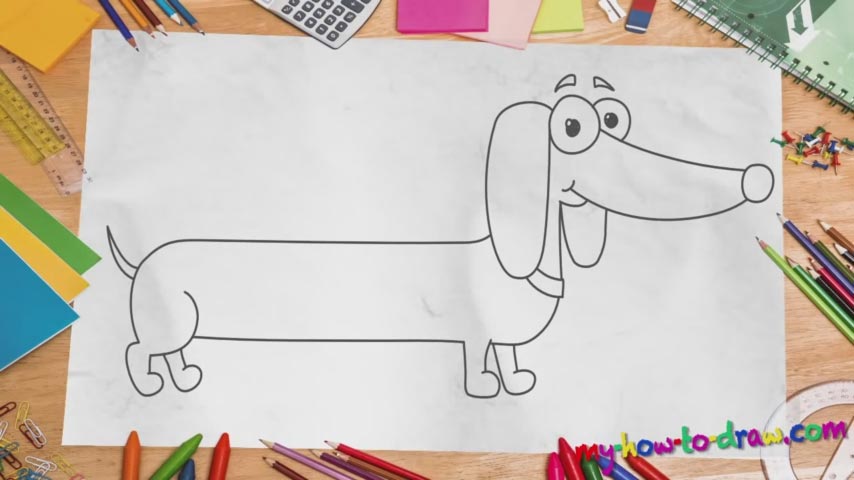
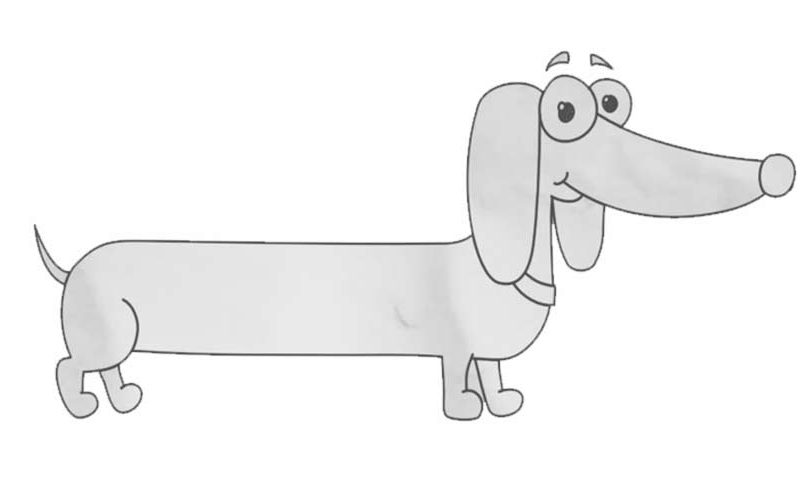
See that tiny circle at the far right corner of our paper (00 min 29 sec)? That’s the dog’s nose, or, rather, its tip. Once it’s done, create a curvy shape that starts at the bottom of the circle and ends with a tip just like the one you see in the video – that’s the mouth. The next part of this how to draw a Daschund video is the eye (00 min 41 sec).
Create another line that starts in the middle of the eye and reaches the nose. After that, put in the right eye. It’s exactly the same, only smaller because of the angle. If the eyebrows are in place and they look good, take care of both ears (01 min 28 sec). They are very simple; yet, the proportions are the key in this tutorial and you must make sure you get everything right.
If you’re happy with the result, draw a straight line that goes all the way to the left corner and turns into a curvy vertical line to shape the back (02 min 18 sec). This is the final stage in our how to draw a Daschund tutorial. The right legs are pretty much the same as the ones on the left (02 min 36 sec). Connect them with a straight line and you’ll be pretty much done. Wait: don’t forget about that tale (03 min 05 sec)!
Before you learn how to draw A Daschund, did you know?
These adorable dogs are well-known in America and loved by regular US families. They are also great hunters and can track down rabbits and other animals, like wounded deer. Those short legs and long body give them that “trademark” look.
If you ever owned one, then you already know that a Daschund is loyal and overall great to have around. There are numerous breeds, and every single one has its unique features. Playful, full of life and motivated, these brutes deserve all the respect they get.