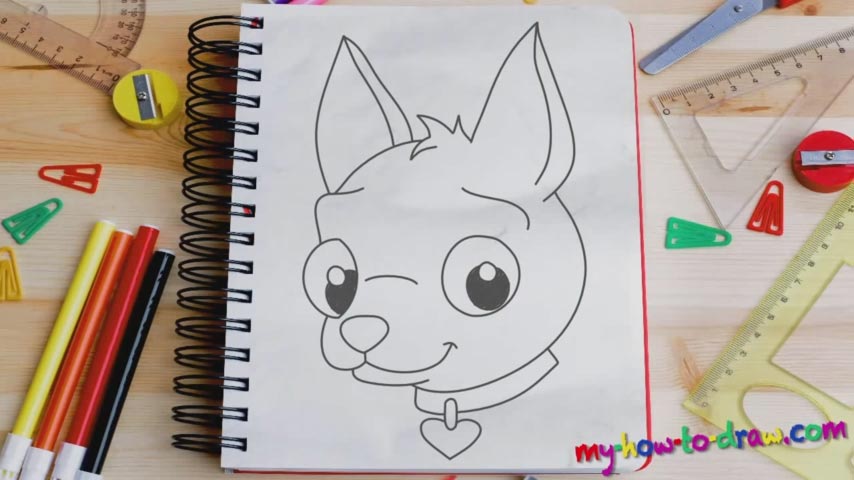
Learn How to draw A Chihuahua Quickly & Easily!
In this particular tutorial, we’ll be focused on the doggy’s head, not the entire body. Therefore, there will be a lot of details on its face and you’ll need to pay attention to all of them. We begin to learn how to draw a Chihuahua with that cute nose that looks like a button (00 min 27 sec). Next, jump to the right and draw a huge circle – make it nice and round. If everything looks good, go back to the nose and add an oval shape above it (00 min 44 sec).
That’s the left eye and it’s significantly narrower than the right one. Naturally, that’s because of the angle. If the dog was to look to the right, it would be vice versa. The lower jaw and the mouth are quite simple (01 min 14 sec). All you’ll need is a bunch of curvy lines (three in total). You can use the eyebrows to help yourself with the proportions of the overall composition.
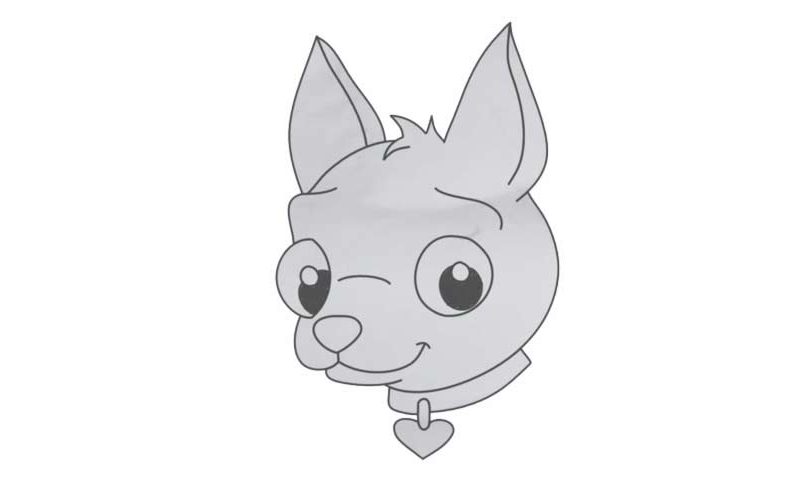
And after you add that cute strand of hair on top, move on to the next step in this how to draw a Chihuahua tutorial – the ears (01 min 48 sec). They must be nice and big and look almost 100% the same. What you should do right after you’re done with those is use a curvy C-like line to connect the right ear to the bottom of the jaw (02 min 32 sec). Finally, add that cute heart below the head and you’re done!
Before you learn how to draw A Chihuahua, did you know?
With a lifespan of 12-20 years and a total weight of 1, 5-3kg, these tiny creatures are to die for. They are 15-23cm tall and are defenseless against pretty much any other animal out there. Yet, they’ve got enough fight inside of them and will bark at the much bigger beasts without even breaking a sweat.
Did you know that this is the tiniest breed of dog known to mankind? That’s true! As for the name, it comes from a Mexican state called – yep, you guessed it – Chihuahua. There are numerous color combinations available, which means you’ll be able to pick up your perfect one!