Learn How To Draw A Cupcake Quickly
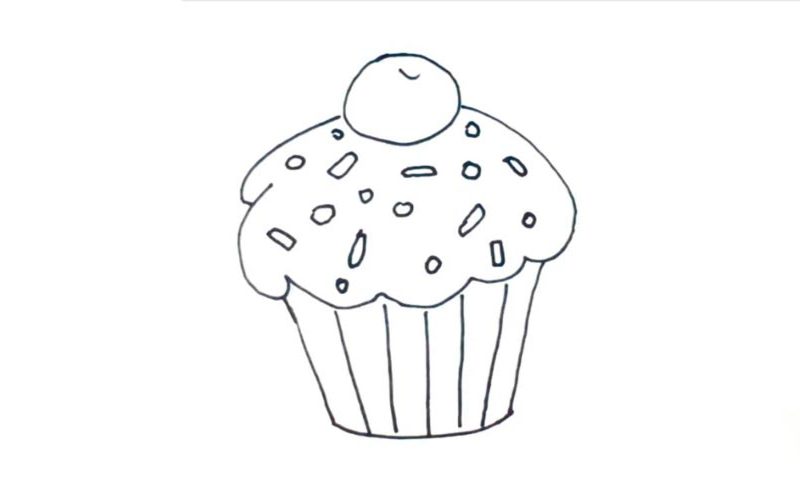
Let’s start with the cup that holds the whole thing together (00 min 05 sec). It’s quite standard and won’t take more than a couple of seconds to complete. The top of this delicious cake is the next step in today’s how to draw a Cupcake tutorial (00 min 20 sec). You could say that it looks a bit like a cloud in the sky.
The cherry sitting at the very top adds a nice touch (00 min 36 sec). You’ll need a simple circle with a tiny curve for that. Ok, let’s go back to the bottom of the paper and create a series of straight vertical lines for the foundation (00 min 45 sec). We’ve got five lines in total. Alright, this how to draw a Cupcake tutorial is done.
It already looks like the real thing and is ready to be eaten. But for a more complete picture, I encourage you to add the pieces of chocolate/vanilla like you see in the video (00 min 54 sec). That will make our piece of art taste even better!
Before you learn how to draw A Cupcake, did you know?
There’s nothing special about this cake, but it’s incredibly popular around the world. Well, maybe it’s the simple recipe and the great taste that turned it into a “hit”? Usually cooked inside a small piece of paper, the cupcakes date back to 1796 – that’s when humanity came up with this recipe. As a light cake with a unique flavor, it was meant for the rich folks.
Later, thanks to the economic boost, even the regular folks could get a taste of this magnificent cake, which gave it international recognition. So, what do you need to bake a cupcake? Not much, really: flour, eggs, sugar, and butter are the main ingredients. Frosting is also an option, as are all kinds of berries and/or fruit. But they’re not essential for the cake.
