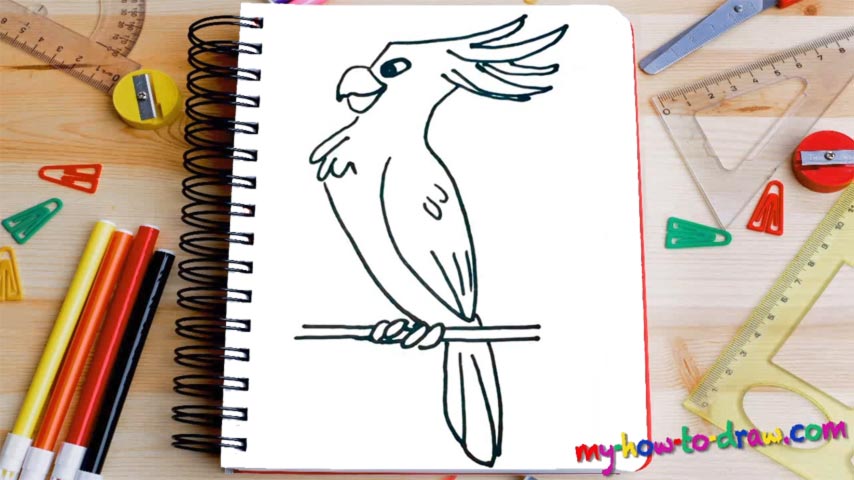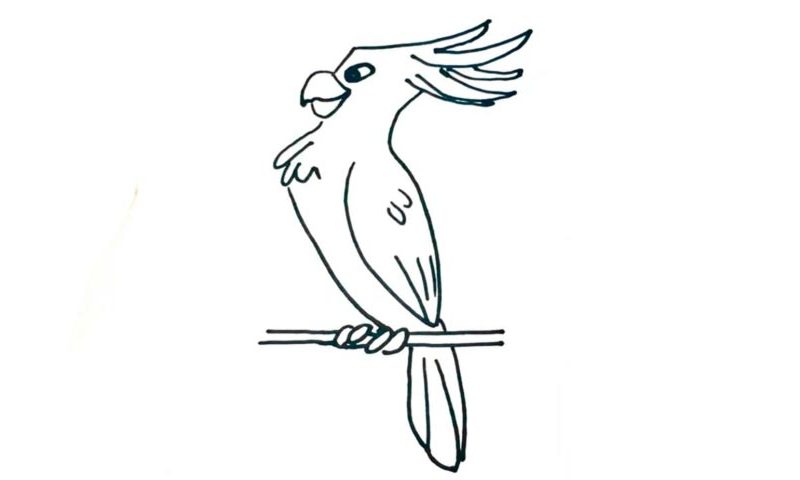
Learn How To Draw A Cockatoo Quickly
This is a very proud bird, and we’ll need to depict that in this drawing. The strong beak comes first (00 min 07 sec). The upper half is bigger than the lower one. The crest, its pride, and joy, is the next step in this how to draw a Cockatoo tutorial (00 min 30 sec). Use two simple lines that start at the top of the beak and slowly turn them into the crest.
It resembles a tree with multiples branches and/or roots. Once you’re done with it, get to the back of the head and the neck (00 min 55 sec). The eye sits right below the forehead and gazes into the sunset (01 min 04 sec). Some might say that it looks like a pill. The wing is a piece of cake (01 min 15 sec).
A series of simple lines is all you’ll need to complete it. The final step of this fine how to draw a Cockatoo tutorial includes the claws and the tail (01 min 34 sec). We can see four claws in the drawing; they’re holding on to a piece of wood. The tail is very straightforward.
Before you learn how to draw A Cockatoo, did you know?
The biologists use this term to describe one of the 21 species from the Cacatuidae family of birds. We, the regular folks, call them all “parrots”. Most of these creatures have deep roots in Australia. If you see a cocky crest and bills that are curved in a somewhat unusual way, just know that you’re looking at a proud member of the Cockatoo family.
Overall, these birds are bigger than the regular parrots. At the same time, the so-called “cockatiel” is the tiniest one of them all. It’s also the most popular pet parrot as it’s easier to take care of. So, what do they eat? The daily diet includes flowers, fruit, seeds, and even insects. Usually, they like to come together for a great feast and feed in large numbers.