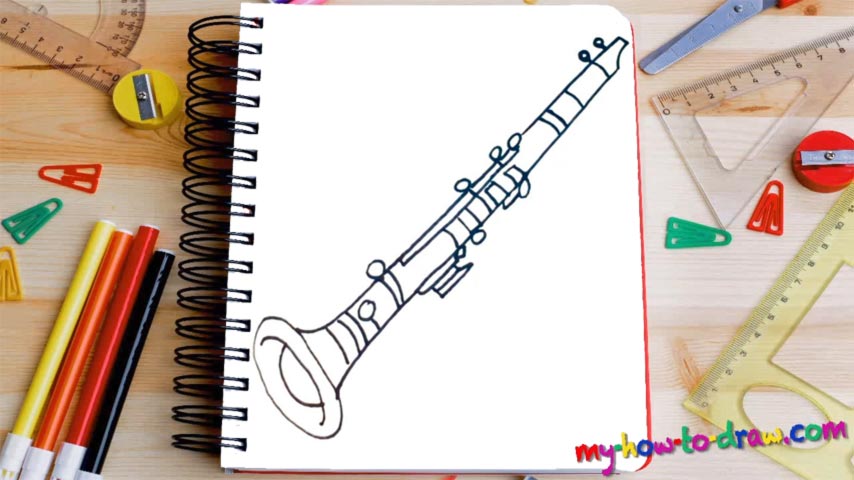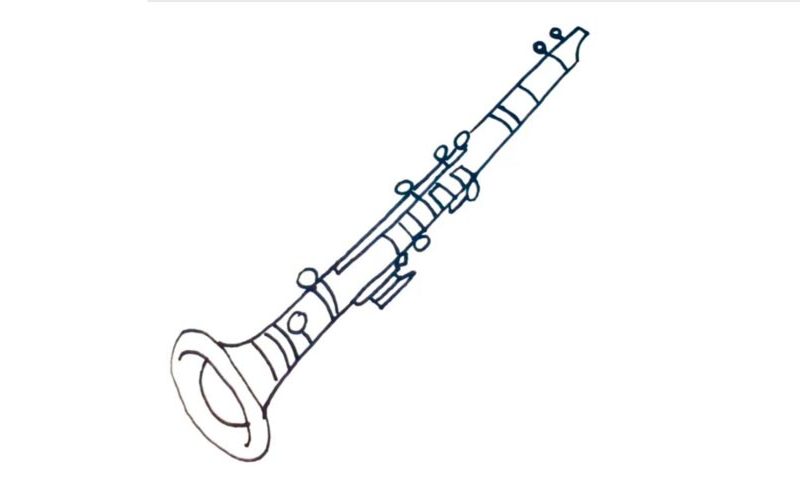
Learn How To Draw A Clarinet Quickly
We begin with the mouthpiece in the upper corner of the paper (00 min 05 sec). You’ll need two straight lines for the main part and a curvy shape for the top. See those two “dots” on the left side (00 min 48 sec)? They come next in this how to draw a Clarinet tutorial. The cylindrical tube – the lower and upper joints – follow (01 min 02 sec).
This is actually an easy step. But the so-called “tone holes” and keywork turn it into a piece of art. Just take a look at the final result: doesn’t it look absolutely stunning? Make sure you get every single curve and line right so that you can be proud of your work. The bell is the final part of this how to draw a Clarinet tutorial (02 min 12 sec).
Use two curvy lines to outline the upper corner. To cover the bottom, you’ll need a horizontal oval (02 min 42 sec). Wait, that’s not it yet. To complete the lesson, add two simple curves just like you see in the video.
Before you learn how to draw A Clarinet, did you know?
Some folks think that the term “Clarinet” describes only one musical instrument, but that’s actually not true. It represents an entire family of different woodwind instruments. The sounds they make are very similar to the trumpet but have a different “flavor”. You might already know that the B♭ clarinet is by far the most popular one in “trendy” music.
At the same time, when it comes to classical orchestral music, the A clarinet is the obvious leader. According to the historians, the very first clarinets were made by Mr. Denner in +/-1700. The initial concepts were quite primitive. Later, the man and his colleagues introduced more and more additional features and turned it into a fine musical instrument.